TL;DR:
- Organic soap making involves a chemical reaction called saponification, where natural oils react with sodium hydroxide to create gentle, skin-friendly soap. Success requires precise measurements, proper safety precautions, and a curing period of 4 to 6 weeks to ensure the soap is hard, mild, and safe for the skin.
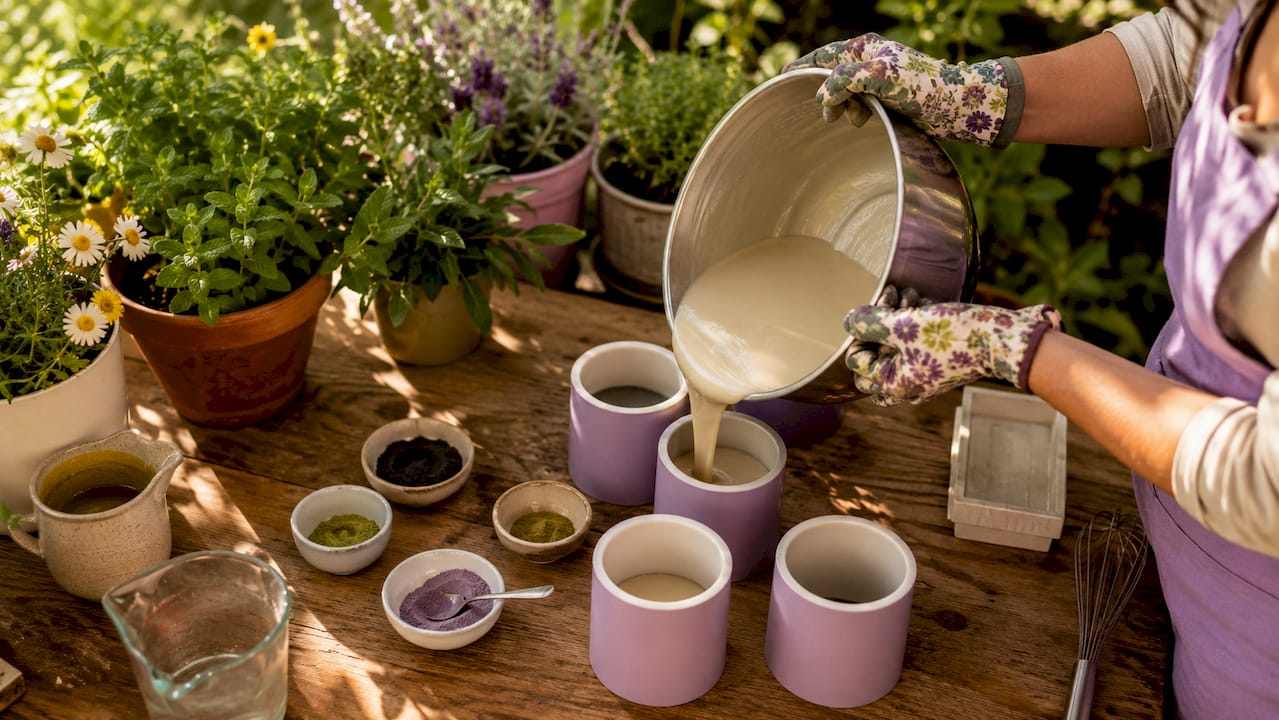
The process for organic soap making is a chemical transformation called saponification, where natural oils and sodium hydroxide (lye) react to form gentle, skin-friendly soap with no residual lye once curing is complete. This reaction is not simply mixing ingredients. It is a precise molecular event that produces soap and glycerin, leaving your skin nourished rather than stripped. The cold process method is the most widely used approach for handmade soap at home, and it gives you full control over every ingredient. This guide walks you through each natural soap making step, from gathering your tools to testing your finished bars.
What tools and ingredients do you need for organic soap making?
The right equipment makes the process for organic soap making safe and repeatable. Before you touch a single ingredient, gather everything listed below. Improvising mid-batch is where accidents happen.
Equipment checklist
- ✅ Digital scale — measure by grams or ounces for accuracy; volume measures cause dangerous errors
- ✅ Stick blender — speeds up reaching trace; hand stirring alone takes far longer
- ✅ Stainless steel or heat-safe plastic pitcher — for mixing lye solution
- ✅ Soap moulds — silicone loaf moulds or lined wooden boxes both work well
- ✅ Thermometer — instant-read or infrared to match oil and lye temperatures
- ✅ Safety gear — gloves and eye protection are non-negotiable until soap is fully cured
- ✅ pH strips — for testing finished bars before use
Pro Tip: Dedicate your soap-making equipment exclusively to soap. Never return pots, spoons, or pitchers to kitchen use after contact with lye.
Choosing your organic oils
Different oils contribute to soap’s hardness, lather quality, and moisturising properties. Choosing a balanced blend is the foundation of a great recipe.
| Oil | Soap property | Skin benefit |
|---|---|---|
| Olive oil | Hard, mild bar | Gentle, deeply moisturising |
| Coconut oil | Rich, stable lather | Cleansing, conditioning |
| Castor oil | Boosts lather, adds conditioning | Softening, skin-nourishing |
| Sweet almond oil | Mild, creamy bar | Soothing for sensitive skin |
| Shea butter | Hardness and creaminess | Rich moisture, barrier support |
A classic beginner recipe combines olive oil, coconut oil, and a small percentage of castor oil. You can explore nourishing oil selections to find high-quality options suited to your skin type. Beyond oils, you will need distilled water to mix your lye solution, and optional natural additives such as lavender essential oil, calendula petals, or activated charcoal for colour and fragrance.
How do you follow the cold process method step by step?
The cold process method is the standard technique for the organic soap crafting process at home. It requires no external heat after the initial oil melting stage, which preserves more of the oils’ natural properties.
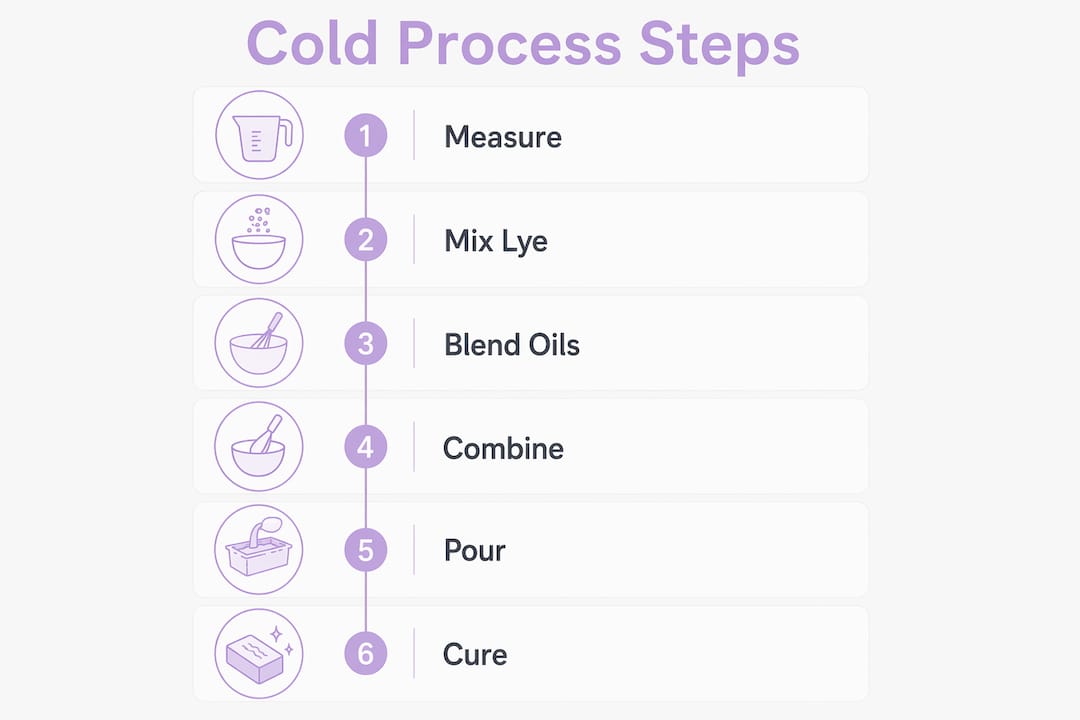
Step-by-step cold process method
-
Prepare your workspace. Clear a clean, ventilated area. Put on your gloves and goggles before opening the lye container. Keep children and pets out of the room.
-
Weigh all ingredients separately. Use your digital scale for every measurement. Weigh your lye, distilled water, and each oil into separate containers before combining anything.
-
Mix the lye solution. Always add lye to water, never the reverse. Pouring water onto lye causes a violent, erupting reaction. Stir slowly until the lye fully dissolves. The solution will heat to between 100°F and 120°F. Set it aside to cool.
-
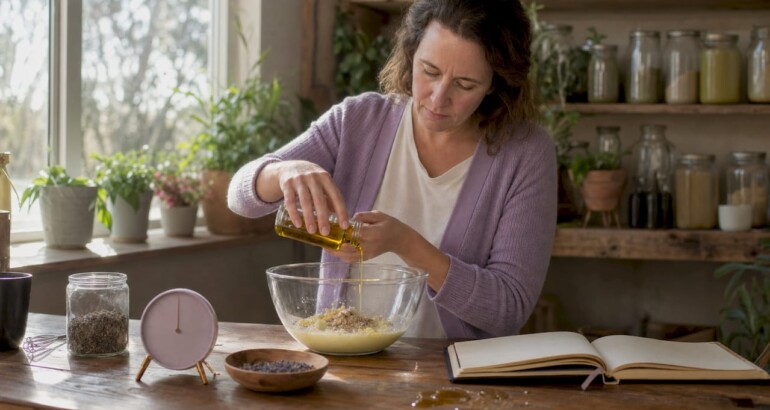
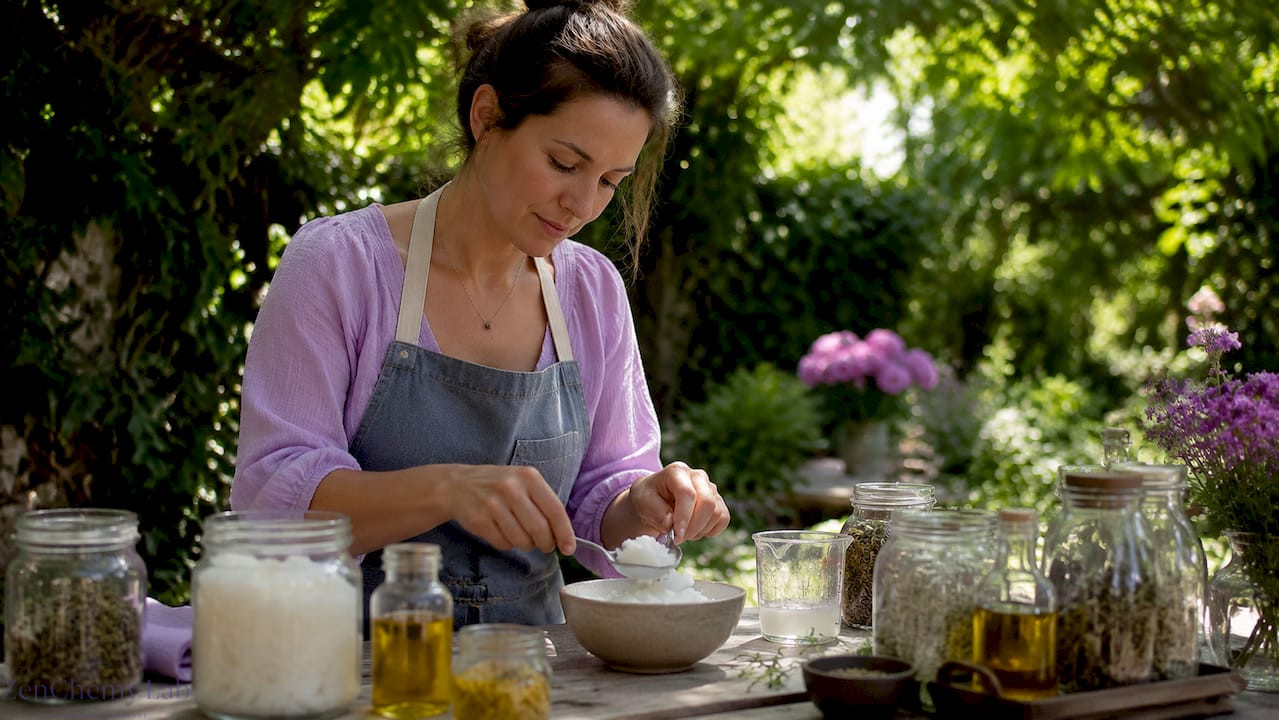
Melt and prepare your oils. Gently melt any solid oils such as coconut oil or shea butter. Combine all your oils in your main soap pot. Allow them to cool to roughly the same temperature as your lye solution, typically between 90°F and 110°F.
-
Combine lye solution and oils. Pour the cooled lye solution slowly into your oils, not the other way around. Begin blending with your stick blender using short bursts, alternating with hand stirring.
-
Reach trace. Trace is the stage where the batter thickens to a pudding-like consistency and leaves visible trails on the surface when drizzled. Light trace is ideal for adding colour or swirls. Medium trace suits most standard pours.
-
Add fragrances and extras. Stir in essential oils, dried herbs, or exfoliants at trace. Adding them earlier risks accelerating trace too fast, leaving no time to pour.
-
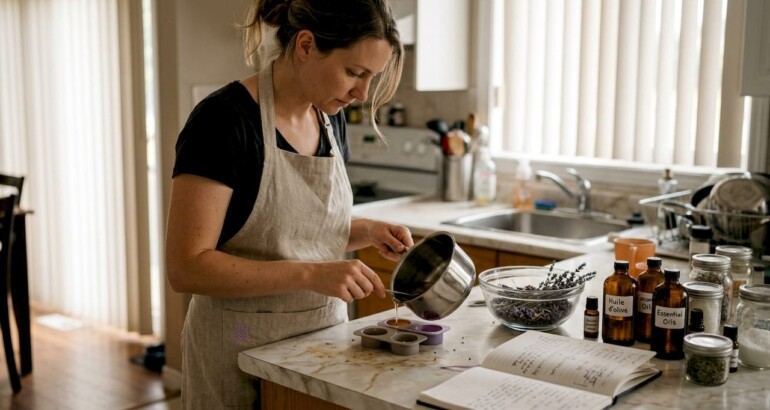
Pour into moulds. Pour the batter steadily into your mould. Tap the mould gently on the counter to release air bubbles. Smooth the top with a spatula.
Pro Tip: If your batter thickens faster than expected after adding fragrance, pour it quickly and smooth the top as best you can. Soap that seizes in the pot is still usable; it just will not look as polished.
For a deeper look at safe DIY soap steps, Zenchemylab has a dedicated guide covering the cold process in full detail.
Why does soap curing matter, and how do you do it right?
Curing is the stage most beginners underestimate. Cold process soap requires 4–6 weeks to harden fully and become gentle on skin. Skipping or shortening this stage leaves soap that is soft, caustic, and harsh to use.
What happens during curing
Saponification continues after pouring. Water evaporates from the bars, which makes them harder and milder. The pH drops gradually as the reaction completes. A bar pulled from the mould after 24 hours is not finished soap. It is a work in progress.
Curing steps to follow
- Leave soap in the mould for 24–48 hours before attempting to unmould. Harder oils like coconut oil set faster; softer oil recipes need the full 48 hours.
- Insulate the mould with a towel immediately after pouring to retain heat and support complete saponification throughout the bar.
- Unmould and cut your bars once firm. Use a sharp knife or soap cutter for clean edges.
- Place bars on a rack in a cool, dry, well-ventilated space. Leave space between bars for air circulation.
- Cure for 4–6 weeks before use. Turn bars every week so all sides dry evenly.
- Test with pH strips rather than the traditional zap test. Proper soap pH sits at 9–10; a reading above 11 means the soap needs more curing time.
Pro Tip: Label each batch with the date poured and the recipe used. After a few batches, you will want to compare results, and memory alone will not serve you.
What are the most common mistakes in organic soap making?
Most soap-making failures trace back to two root causes: measurement errors and lye handling mistakes. Both are preventable.
Measurement and recipe errors
Using online lye calculators is not optional for safe soap making. The oil-to-lye ratio must be mathematically precise. Substituting one oil for another without recalculating changes the saponification value and can produce soap that is either caustic or too soft to use.
Safety note: Never estimate lye by volume or by eye. A small measurement error affects the entire batch and can result in soap that burns skin on contact.
Common mistakes to avoid:
- ❌ Pouring water into lye instead of lye into water — causes a dangerous eruption of heat and fumes
- ❌ Skipping safety gear — lye splashes cause chemical burns; soap remains caustic until saponification is complete
- ❌ Adding fragrance at the wrong stage — adding before trace causes uneven distribution; adding too early can seize the batter
- ❌ Skipping the lye calculator — every recipe change requires a full recalculation
- ❌ Cutting bars too early — soft bars crumble and lose their shape; wait the full 24–48 hours in the mould
- ❌ Curing in a humid space — moisture slows water evaporation and can cause surface defects like soda ash or rancidity
If your finished bars test above pH 11 after four weeks, extend curing by another two weeks and retest. High pH soap is not ruined. It simply needs more time for the reaction to complete fully. For a broader look at soap quality and skin benefits, Zenchemylab covers the science behind what makes handmade soap genuinely better for skin.
Key takeaways
The process for organic soap making succeeds when you combine precise measurements, correct lye handling, and a full 4–6 week cure before use.
| Point | Details |
|---|---|
| Saponification is the core reaction | Lye fully reacts with oils to form soap and glycerin; no lye remains in cured soap. |
| Measure everything by weight | Use a digital scale in grams or ounces; volume measures introduce dangerous errors. |
| Always add lye to water | Reversing the order causes a violent exothermic reaction and fume release. |
| Cure for 4–6 weeks minimum | Bars need this time to harden, lose excess water, and reach a safe pH of 9–10. |
| Use a lye calculator for every recipe | Any oil substitution changes the saponification value and requires a full recalculation. |
What I have learned from making organic soap from scratch
Alex’s perspective:
The first thing I got wrong was treating soap making like baking. I assumed close enough was good enough. It is not. The chemistry does not forgive approximations, and my first batch proved it. The bars were soft, slimy, and far too alkaline to use. That failure taught me more than any guide could.
What I have come to respect most about the cold process is that patience is a genuine ingredient. You cannot rush saponification. Wrapping the mould, waiting the full cure time, and testing with pH strips before use are not optional steps for cautious beginners. They are the steps that separate soap that nourishes skin from soap that irritates it.
The creative freedom that comes after you master the basics is genuinely rewarding. Once you understand how saponification chemistry works and how each oil contributes to the final bar, you can design recipes for specific skin types, seasons, or scent preferences. That is where soap making stops feeling like a chemistry experiment and starts feeling like a craft.
My honest advice: start with a simple three-oil recipe, use a lye calculator every single time, and resist the urge to use your soap before the cure is done. The bars you pull off the rack at six weeks will be worth the wait.
— Alex
Discover natural skincare and handmade soap at Zenchemylab
Making your own organic soap is one of the most direct ways to take control of what goes on your skin. Zenchemylab was built around exactly that philosophy: transforming raw, natural ingredients into artisanal soaps and body care products that honour both your skin and the environment.
Whether you are just starting your DIY skincare journey or looking to deepen your knowledge of natural beauty and sustainability, Zenchemylab offers guides, product selections, and resources to support every step. Explore the full range of handmade soap and body care products crafted with the same care and precision this guide describes.
FAQ
What is saponification in soap making?
Saponification is the chemical reaction where lye (sodium hydroxide) reacts with oils to form soap and glycerin. No lye remains in the finished bar once the reaction is complete and the soap is fully cured.
How long does organic soap need to cure?
Cold process soap requires 4–6 weeks of curing in a cool, dry, well-ventilated space. This time allows water to evaporate, the bars to harden, and the pH to drop to a skin-safe level of 9–10.
Is lye safe to use at home?
Lye is caustic and requires gloves and eye protection throughout the soap-making process. Handled correctly with proper safety gear and ventilation, it is safe to use at home and leaves no trace in fully cured soap.
Do I need a lye calculator for every batch?
Yes. Every oil substitution or recipe change alters the saponification value and requires a full recalculation. Skipping this step risks producing soap that is either too harsh or too soft to use safely.
How do I know when my soap is ready to use?
Test finished bars with pH strips after the curing period. A reading of 9–10 indicates the soap is safe and ready. A reading above 11 means the soap needs additional curing time before use.