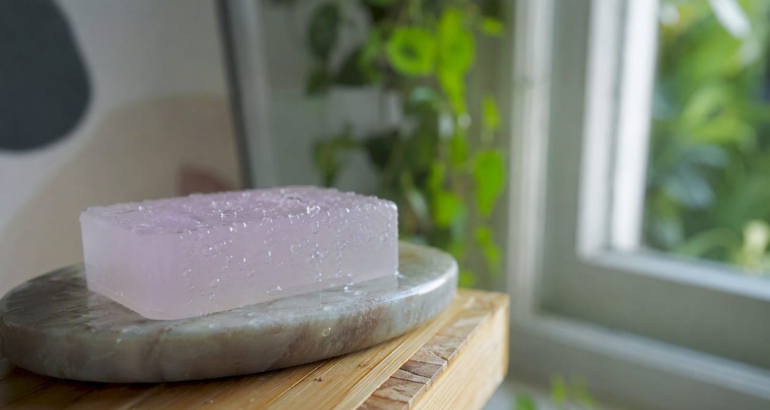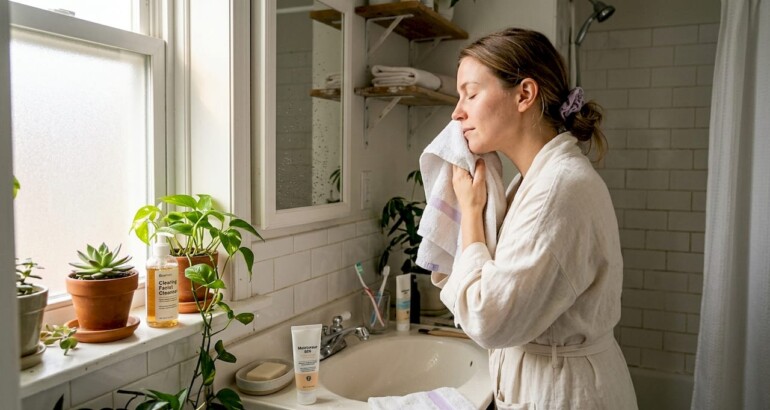
TL;DR:
- Starting anhydrous creates a microbial-free facial cleanser that lasts longer without preservatives.
- Adding water requires strict preservation, pH control, and careful storage to prevent spoilage.
The safest homemade facial cleanser workflow starts with one rule: begin anhydrous. Water-free formulations, built from oils, waxes, and dried botanicals, carry no microbial risk and require no preservatives, making them the ideal starting point for anyone new to DIY skincare. When you do introduce water, the stakes rise immediately. Bacteria, yeast, and mould can take hold within days without proper preservation and pH control.
Here is the core workflow at a glance:
- ✅ Start with anhydrous formulas (oils, waxes, dry actives) to sidestep preservation complexity
- ✅ Sanitise all tools and surfaces with 70% isopropyl alcohol before you touch a single ingredient
- ✅ If adding water, use distilled water only and add a broad-spectrum preservative
- ✅ Test and adjust pH to keep your preservative active
- ✅ Store finished products in airtight, dark containers away from heat and light
- ✅ Patch test every new formula before applying it to your full face
Table of Contents
- How to craft an anhydrous homemade facial cleanser, step by step
- What do the key ingredients in a DIY facial cleanser actually do?
- How do you safely add water to a homemade facial cleanser?
- What mistakes do most DIY cleanser makers make?
- Zenchemylab’s natural skincare line: a trusted complement to your DIY practice
- Basic hygiene and safety notes every DIY formulator needs
- How long do homemade facial cleansers last, and how should you store them?
- What tools and equipment do you need to make a facial cleanser at home?
- How to patch test a new homemade cleanser before full use
- Homemade cleansers vs. commercial products: honest benefits and real limitations
- Zenchemylab makes natural skincare easier when DIY has its limits
- Key takeaways
How to craft an anhydrous homemade facial cleanser, step by step
Anhydrous cleansers, think oil-cleansing balms and wax-based melt-away formulas, are where most formulators recommend you start. No water means no microbial breeding ground, and anhydrous products can last 6 months to a year if stored correctly.
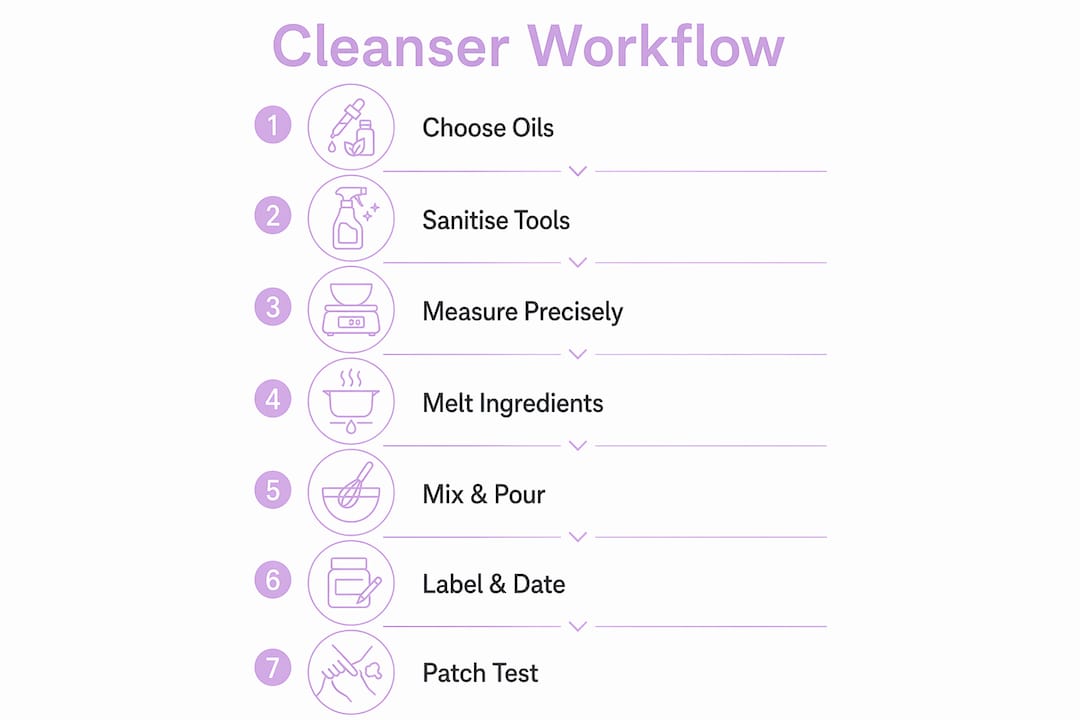
Step 1: Choose your base ingredients. Select carrier oils suited to your skin type (jojoba for oily skin, rosehip for dry or mature skin), a wax for texture (candelilla or beeswax), and any dry active ingredients such as kaolin clay or colloidal oatmeal.
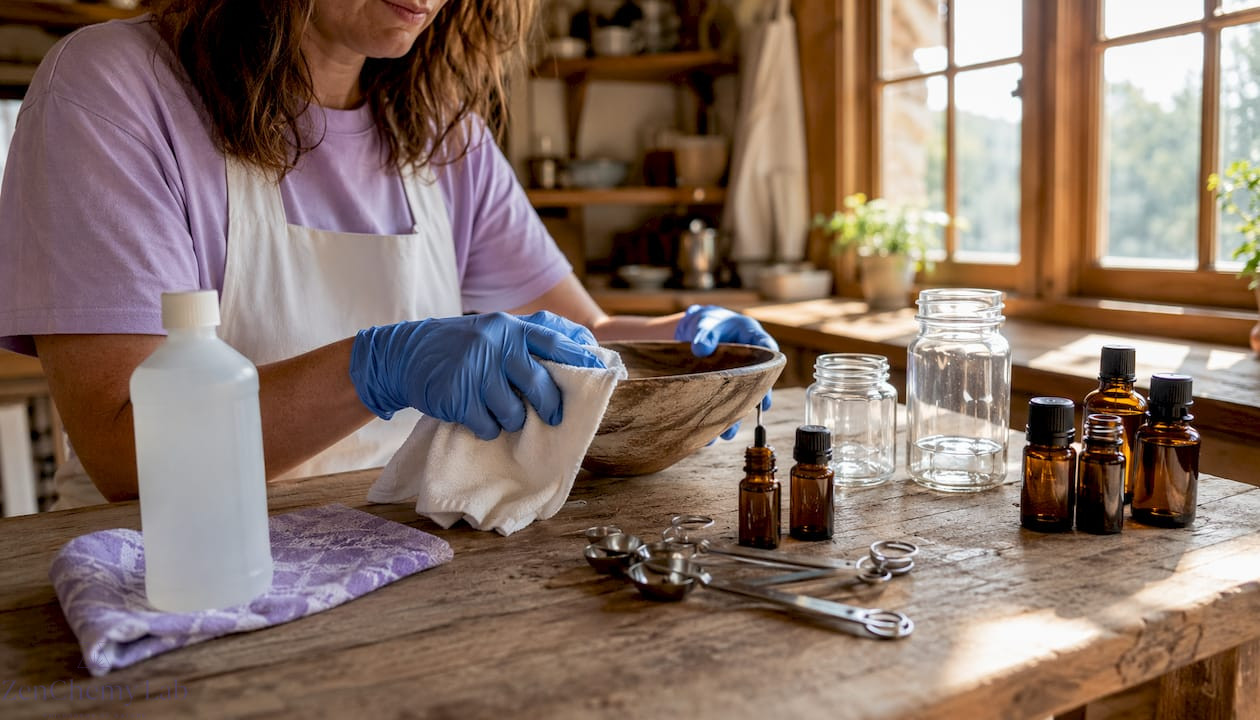
Step 2: Sanitise everything. Wipe down your workspace, mixing bowls, spatulas, and containers with 70% isopropyl alcohol. Contamination most often enters from your hands and environment, not the raw ingredients themselves.
Step 3: Measure precisely. Use a digital scale accurate to 0.1 g. Eyeballing ingredient ratios is one of the fastest routes to an unstable formula.
Step 4: Melt with controlled heat. Use a double boiler or a heat-safe bowl over simmering water. Keep temperatures low enough to protect heat-sensitive actives like vitamin E.
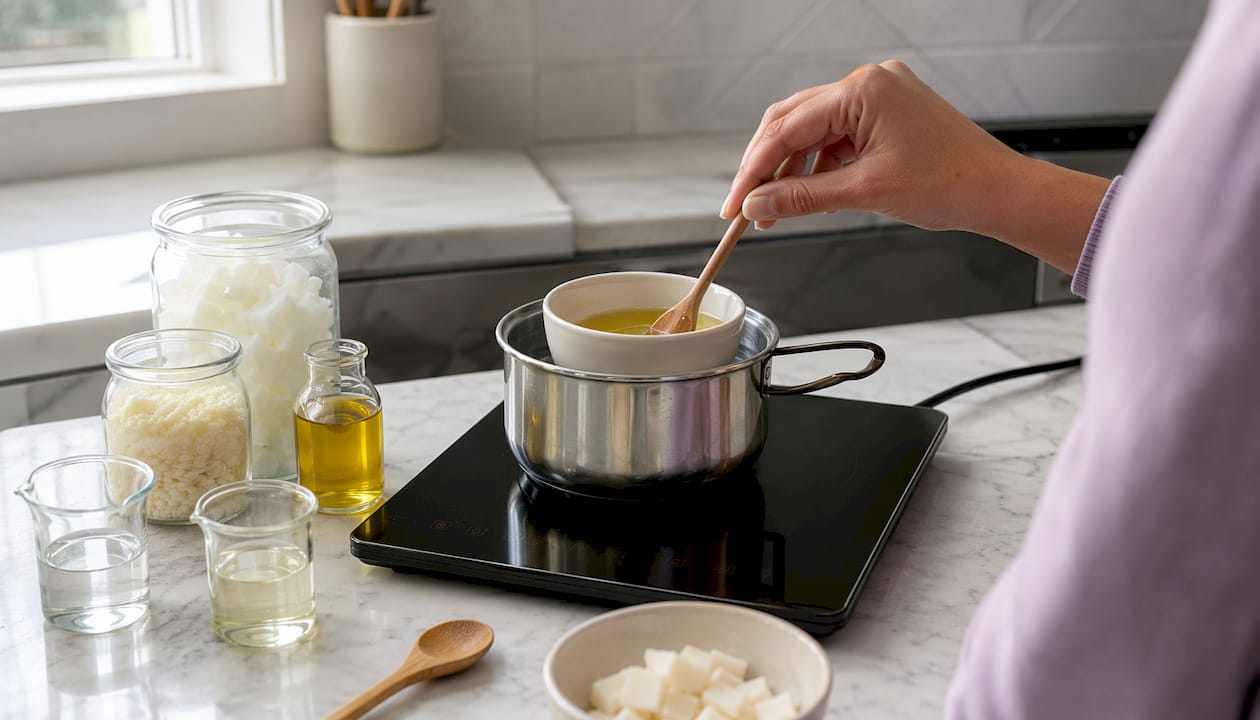
Step 5: Mix and pour. Stir thoroughly, then pour into clean, sanitised containers. Avoid touching the inside of jars with bare fingers at any point.
Step 6: Label and date. Note the batch date and every ingredient. This matters for tracking shelf life and identifying any reactions.
Pro Tip: Treat your workspace like a clean room. Tie back your hair, wear nitrile gloves, and work away from open windows or fans that carry airborne particles. The extra five minutes of prep protects weeks of effort.
What do the key ingredients in a DIY facial cleanser actually do?
Understanding ingredient roles lets you build a formula with intention rather than guesswork. Here is how the main categories function in a natural facial cleanser:
- Carrier oils and butters (jojoba, sweet almond, shea): dissolve sebum and surface impurities through the “like dissolves like” principle while depositing lipids that support the skin barrier
- Waxes (beeswax, candelilla, carnauba): provide structure, control melt point, and give balm-style cleansers their texture
- Dry powders (kaolin clay, rice flour, colloidal oatmeal): add mild exfoliation, absorb excess oil, and can give a mask-like cleansing effect
- Vitamin E (tocopherol): an antioxidant that slows oil oxidation and extends the shelf life of oil-based formulas, but does not kill bacteria or mould and cannot replace a preservative in water-based products
- Natural aromatic extracts and essential oils: provide fragrance and some botanical benefit, but must be used at skin-safe concentrations (typically well below 1% for facial products)
The most common misconception in DIY skincare is treating vitamin E or tea tree oil as preservatives. They are not. Antioxidants prevent rancidity in oils; they do nothing against microbial growth in a water-containing formula.
How do you safely add water to a homemade facial cleanser?
The moment water enters your formula, the safety calculus changes entirely. Moisture, warmth, and nutrients create exactly the conditions bacteria, yeast, and mould need to multiply rapidly, often before you can see or smell any spoilage.
Follow these non-negotiable steps:
- Use distilled water only. Tap water contains minerals and microorganisms that can destabilise your formula from day one
- Add a broad-spectrum preservative. Preservatives are typically used at low concentrations of total formula weight and added during the cool-down phase (below 40°C) to maintain efficacy.
- Test and adjust pH. Many preservatives, including the popular sodium benzoate/potassium sorbate combination, only work reliably below pH 5.5. Use pH strips or a digital meter and adjust with citric acid or sodium hydroxide solution as needed
- Consider phenoxyethanol for broader pH stability if you prefer a single-agent system
- Avoid natural “self-preserving” methods (infused vinegar, hydrosols) as your sole preservation strategy for facial cleansers. These approaches have limited efficacy and require advanced technique to execute safely
Understanding pH management in handmade skincare is not optional once water is in the picture. An inactive preservative is the same as no preservative.
What mistakes do most DIY cleanser makers make?
Even careful formulators fall into predictable traps. Knowing them in advance saves your skin, literally.
- Skipping sanitisation. A single unwashed spatula can introduce enough bacteria to spoil a batch within a week
- Omitting preservatives in water-based formulas. No essential oil, no grapefruit seed extract, no vitamin E replaces a broad-spectrum preservative. Without one, a water-based cleanser can spoil in days
- Ignoring pH testing. A formula can look, smell, and feel perfect while its preservative sits inactive at the wrong pH
- Using open jars without a spatula. Every finger-dip introduces new microbes. Pump bottles and airless dispensers are far more hygienic for water-based products
- Skipping the patch test. Health Canada advises applying a small amount to skin and observing for 24 hours before full use. Discard the batch if irritation appears
Zenchemylab’s natural skincare line: a trusted complement to your DIY practice
Not every step of your skincare routine needs to be made from scratch. Zenchemylab crafts natural face washes and cleansers using botanical ingredients selected for both skin compatibility and purity, giving you a reliable, lab-tested option alongside your homemade formulas.
✔ Gentle, plant-based cleansing agents that respect the skin’s natural pH
✔ Formulated with botanical extracts and cold-pressed oils for genuine skin nourishment
✔ Rigorous quality control at every stage, from raw ingredient sourcing to finished product
✔ No harsh sulphates, synthetic fragrances, or unnecessary fillers
Pro Tip: Pair a Zenchemylab cleanser with your homemade oil-cleansing balm as a double-cleanse routine. The balm lifts makeup and sunscreen; the botanical wash removes the residue without stripping your skin barrier.
Basic hygiene and safety notes every DIY formulator needs
Good hygiene is not a suggestion in cosmetic formulation. It is the foundation of every safe batch.
Wash your hands thoroughly before you begin, then put on nitrile gloves. Sanitise all equipment with 70% isopropyl alcohol and allow it to air dry before use. Never work over an open batch while coughing or sneezing. Keep pets out of your workspace. Use dedicated equipment for skincare only, not shared kitchen tools, to avoid cross-contamination from food residues. If a batch develops an off smell, unusual colour, or visible spots, discard it entirely. Invisible mould spores spread through a whole batch long before they become visible.
How long do homemade facial cleansers last, and how should you store them?
Shelf life depends almost entirely on formula type and storage conditions. Anhydrous cleansers typically last 6 months to a year if stored properly; water-based formulas with a proper preservative system generally stay fresh longer when stored correctly.
Proper storage means airtight, dark containers kept in a cool, dry place away from direct sunlight, heat, and humidity. The bathroom shelf above the shower is one of the worst spots, despite being the most convenient. A bedroom drawer or a cabinet away from the sink is far better. Avoid refrigerating most formulas unless they contain no preservative at all (fresh masks, for example). Condensation inside cold packaging introduces moisture and can accelerate mould growth.
Label every batch with its date and ingredients. When in doubt about whether a product is still safe, trust your senses: off smell, discolouration, separated texture, or visible spots all mean it is time to discard.
What tools and equipment do you need to make a facial cleanser at home?
You do not need a professional lab, but a few specific tools make a real difference to both safety and accuracy.
| Tool | Purpose |
|---|---|
| Digital scale (0.1 g accuracy) | Precise ingredient measurement |
| Double boiler or heat-safe bowl | Controlled, gentle melting |
| Silicone spatulas | Easy to sanitise; no residue |
| pH meter or strips | Essential for water-based formulas |
| Isopropyl alcohol (70%) | Workspace and tool sanitisation |
| Airtight glass or PET containers | Safe, stable storage |
| Nitrile gloves | Prevents hand contamination |
| Thermometer | Monitors temperature during melting and cool-down |
Glass containers are preferred for oil-based formulas. For water-based cleansers, airless pump bottles reduce contamination risk every time you dispense.
How to patch test a new homemade cleanser before full use
Patch testing is the single most important safety step between making a formula and putting it on your face. Apply a small amount of the finished cleanser to the inside of your wrist or the crook of your elbow. Leave it undisturbed for 24 hours and watch for redness, itching, swelling, or any other sign of irritation. If any reaction appears, discard the batch and review your ingredient list for known sensitisers.
Even ingredients labelled “natural” can cause reactions in sensitive skin. Essential oils, botanical extracts, and certain carrier oils all carry sensitisation potential. Patch testing is not just for beginners; it is standard practice every time you change a formula or source a new ingredient.
Homemade cleansers vs. commercial products: honest benefits and real limitations
Homemade facial cleansers give you complete ingredient transparency, the ability to tailor formulas to your exact skin type, and the satisfaction of knowing exactly what you are applying. For people with sensitivities to common commercial additives like Sodium Lauryl Sulfate (SLS), a carefully formulated DIY cleanser can be genuinely gentler. Health Canada notes that SLS can cause skin or eye irritation in some individuals at high concentrations, which is part of why many people turn to homemade alternatives.
The limitations are real, though. Without professional challenge testing, you cannot guarantee microbial stability over time. Shelf life is shorter. Consistency between batches varies. And formulating a stable, effective emulsion (a true lotion-style cleanser) requires considerably more skill than a simple oil balm. For most home formulators, the sweet spot is anhydrous or simple water-based formulas for personal use, with commercially made products filling the gaps where safety margins matter most.
Zenchemylab makes natural skincare easier when DIY has its limits
Making your own cleansers is genuinely rewarding, and Zenchemylab is built for people who care deeply about what goes on their skin. When you want the same commitment to natural, botanical ingredients without the formulation work, Zenchemylab’s handmade skincare collection gives you artisanal quality with the safety and consistency of expert formulation. Every product is crafted from raw, natural ingredients with the same purity-first philosophy you bring to your own batches.
Whether you are looking to complement your DIY routine or simply want a trusted, ready-made option, browse Zenchemylab’s natural beauty collection to find cleansers and skincare made with the same care you put into your own formulas.
Key takeaways
A safe homemade facial cleanser workflow starts anhydrous, adds water only with a broad-spectrum preservative and correct pH, and relies on strict sanitisation at every step.
| Point | Details |
|---|---|
| Start anhydrous | Water-free formulas need no preservatives and can last 6 months to a year with proper storage. |
| Preservatives are mandatory with water | Add a broad-spectrum preservative whenever your formula contains water. |
| pH determines preservative efficacy | Many preservatives only work below pH 5.5; always test and adjust before sealing your batch. |
| Sanitise tools and workspace | Wipe all equipment with 70% isopropyl alcohol; contamination enters most often from hands and environment. |
| Zenchemylab for trusted natural skincare | Zenchemylab’s handmade botanical cleansers offer natural-ingredient quality with expert formulation safety. |