TL;DR:
- Making natural soap at home allows control over ingredients, avoiding harmful chemicals in commercial bars.
- The cold process method uses precise measurements of oils and lye, with safety precautions essential.
- Curing for 4 to 6 weeks ensures a mild, durable, and skin-safe soap full of beneficial glycerin.
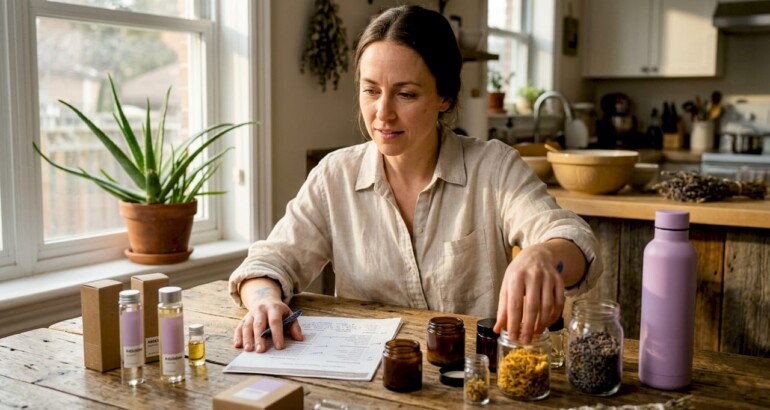
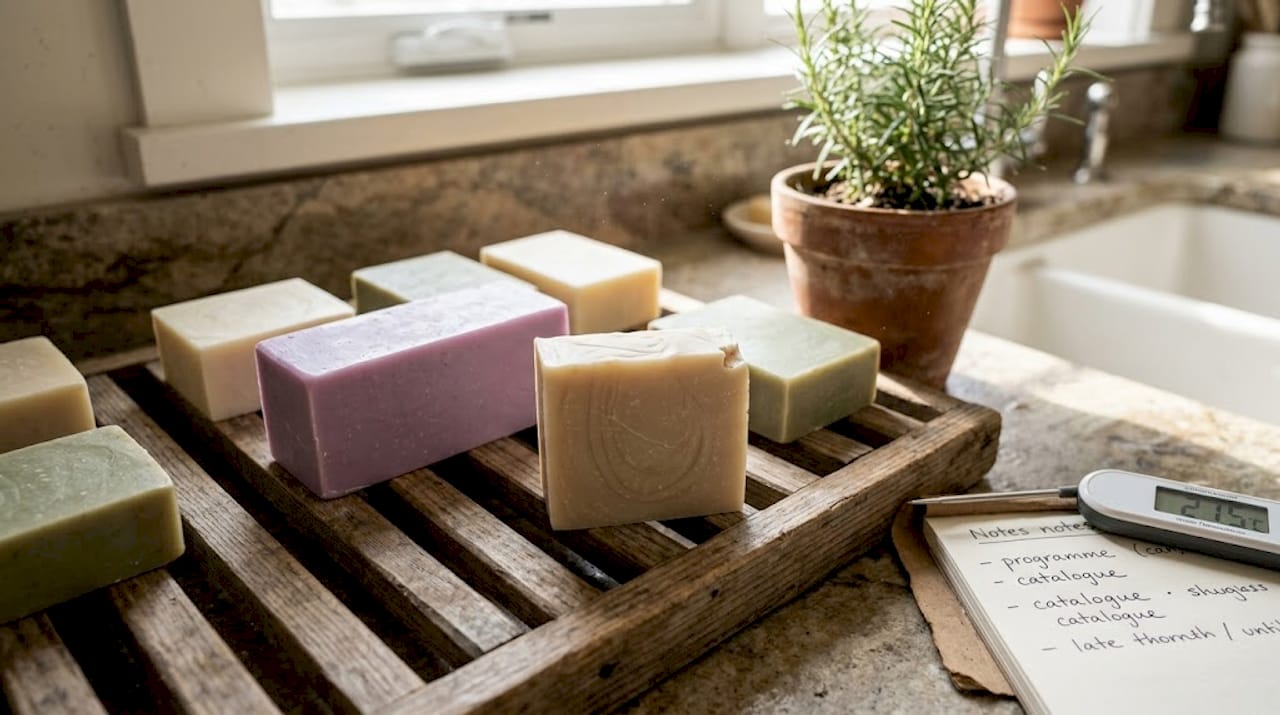
There is something deeply satisfying about handing a family member a bar of soap you made yourself, knowing every ingredient that went into it. Commercial bars often contain sulphates, synthetic preservatives, and mystery fragrances that leave your skin tight and dry. Making your own natural soap lets you sidestep all of that, choosing nourishing oils, botanical scents, and pure additives that genuinely care for your skin. This guide walks you through materials, safety, the cold process method, ingredient selection, troubleshooting, and curing so your very first batch comes out beautifully.
Table of Contents
- What you need to make natural soap
- Step-by-step: the cold process soap making method
- Choosing oils, scents, and natural additives
- Troubleshooting and common mistakes
- Expectations: curing, safety, and how to know your soap is ready
- Why true natural soap is worth the care (and myth-busting advice)
- Explore more natural skincare with ZenChemy Lab
- Frequently asked questions
Key Takeaways
| Point | Details |
|---|---|
| Safety comes first | Always use proper gear and methods when working with lye for natural soap making. |
| Cold process is best | The cold process gives you control to craft the most authentic and customizable bars. |
| Ingredient choices matter | Choosing the right oils, scents, and additives ensures your soap suits your skin and preferences. |
| Precision ensures safety | Carefully measuring everything means no lye is left behind in your finished soap. |
| Patience for perfection | Allowing four to six weeks of curing makes your soap gentle, hard, and ready for use. |
What you need to make natural soap
Now that you understand what sets natural soap apart, let’s start with what you’ll need and how to keep it safe.
Cold process soap making is the most trusted method for producing natural bars, relying on saponification, which is the chemical reaction between oils or fats and sodium hydroxide (lye) dissolved in distilled water, to produce soap and skin-loving glycerin. Getting your materials right from the start saves time and prevents waste.
Essential materials and equipment
| Category | Item | Notes |
|---|---|---|
| Fats and oils | Olive, coconut, shea, castor | Weigh precisely by grams |
| Lye (sodium hydroxide) | Food-grade NaOH | Sold at hardware stores |
| Liquid | Distilled water or milk | Never tap water |
| Scent | Essential oils only | Added at trace |
| Additives | Clays, herbs, botanicals | Functional and decorative |
| Equipment | Digital scale | Accuracy to 1 g minimum |
| Equipment | Stainless steel or glass jugs | No aluminium ever |
| Equipment | Immersion blender | Speeds trace dramatically |
| Equipment | Silicone mould or loaf mould | Easy to unmould |
| Safety | Goggles, nitrile gloves, apron | Non-negotiable PPE |
Start your DIY soap making journey with the correct tools in hand before you ever open a bag of lye.
Key safety essentials to gather first:
- ✅ Safety goggles (not just glasses) rated for chemical splash
- ✅ Nitrile gloves, not latex or thin kitchen gloves
- ✅ Long-sleeved shirt and an apron
- ✅ A dedicated workspace you can ventilate by opening a window or running a fan
- ✅ Stainless steel, glass, or high-density polyethylene containers only
⚠️ Lye safety non-negotiable: Never use aluminium containers or utensils. Lye reacts violently with aluminium, creating dangerous hydrogen gas. Keep pets and children out of the room during lye mixing.
Pro Tip: Use a reliable soap lye calculator (SoapCalc or Brambleberry’s calculator) to determine exact oil and lye amounts for your recipe. Eyeballing measurements causes failed batches and potential safety issues.
Step-by-step: the cold process soap making method
Once you have your setup and ingredients ready, follow these steps to create your first batch of natural soap.
Every experienced soap maker will tell you that precision over intuition is the golden rule. Lye is entirely safe when measured correctly, and properly cured cold process soap contains zero active lye residue.
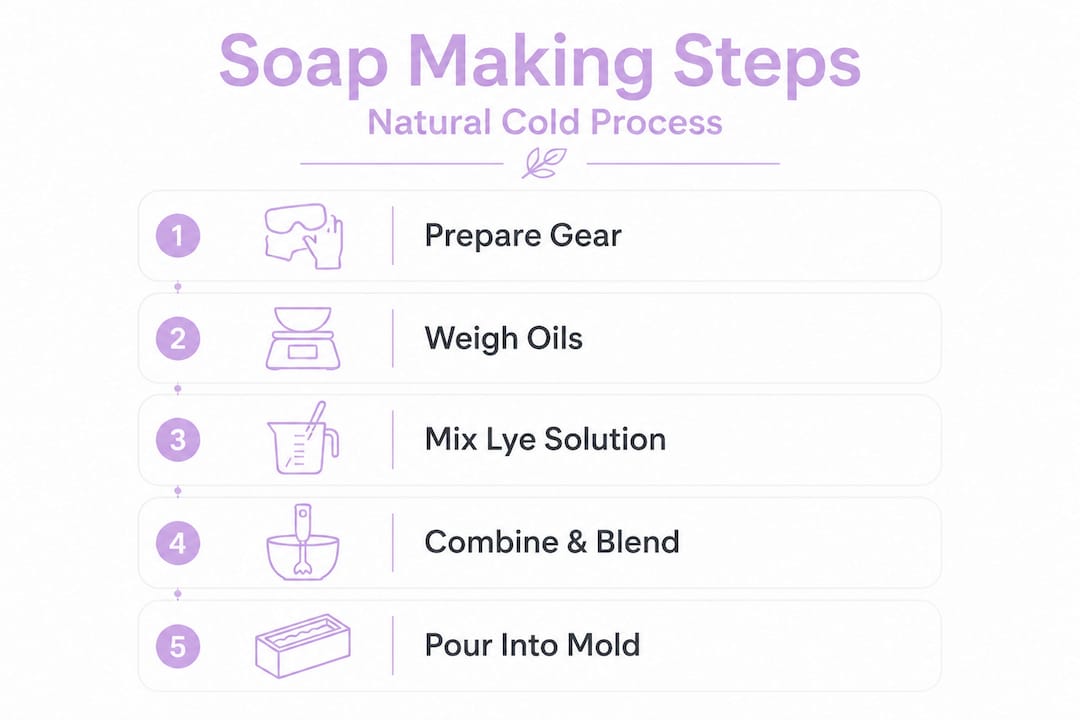
The cold process steps
-
Put on your PPE. Goggles, nitrile gloves, apron, and long sleeves go on before anything else. Set up in a ventilated space away from pets and children.
-
Weigh every ingredient on a digital scale. Never use volume measurements for soap making. Even a small variance in lye weight can affect safety and quality.
-
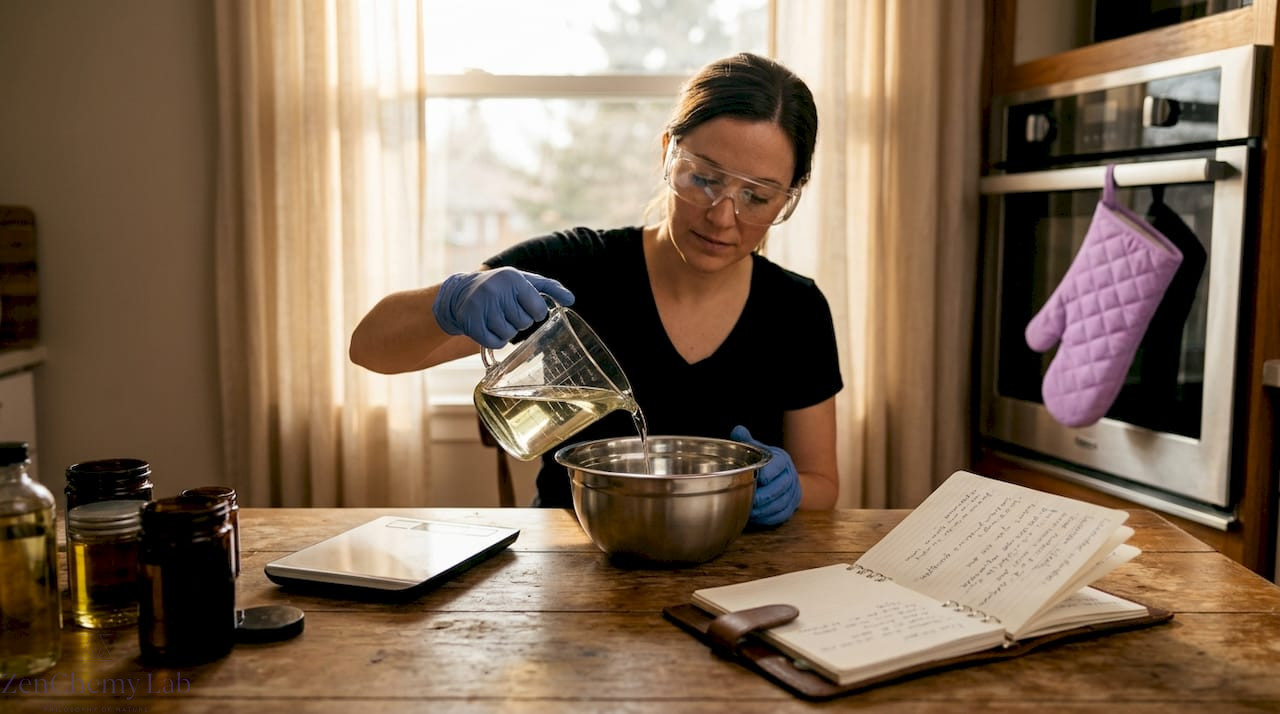
Mix your lye solution. Slowly pour the lye into chilled distilled water, never the reverse. Reversing the order causes a violent eruption. Stir gently. The solution will heat up rapidly to around 80°C (176°F) and release fumes. Do this near an open window.
-
Melt and cool your oils. Melt solid oils like coconut and shea together in a stainless pot. Allow both your oils and lye solution to cool to between 38°C and 49°C (100°F to 120°F). Some soap makers use a thermometer for precision.
-
Combine oils and lye. Pour the lye solution slowly into the oils while using your immersion blender. Blend in short bursts to prevent overheating the blender motor.
-
Blend to trace. Trace is when the soap batter thickens to a pudding-like consistency. Dragging your blender or spoon across the surface leaves a visible trail (hence “trace”). Light trace is ideal for swirled designs; medium trace works for most basic bars.
-
Add your scents, colourants, and additives. Essential oils, clays, herbs, and botanicals go in at trace. Stir thoroughly but quickly, especially with fast-moving essential oils like clove or cinnamon.
-
Pour into moulds. Fill your lined silicone or wooden mould, tap it gently to release air pockets, and smooth the top with a spatula.
-
Insulate and rest. Cover the mould with a piece of cardboard and wrap it in a towel. Let it sit undisturbed for 24 to 48 hours. This encourages gel phase, which gives finished bars a translucent, jewel-like appearance.
-
Unmould and cut. After 24 to 48 hours, check firmness. If bars feel solid enough, unmould and cut into individual bars with a sharp knife or soap cutter.
-
Cure for 4 to 6 weeks. Arrange bars on a rack in a cool, dry space with good airflow. This allows excess water to evaporate and pH stabilisation to occur. Cured bars reach a final pH of 9 to 10, which is safe and mild for skin.
Quick step summary table
| Stage | Key action | Time |
|---|---|---|
| Preparation | PPE on, ingredients weighed | 15 to 20 min |
| Lye mixing | Lye into water, cool down | 30 to 60 min |
| Blending | Oils plus lye to trace | 10 to 20 min |
| Moulding | Pour and insulate | 24 to 48 h |
| Curing | Rack rest for mildness | 4 to 6 weeks |
Explore the full step-by-step guide and the details behind soap craftsmanship to deepen your understanding of each stage.
Pro Tip: If your batter starts thickening too quickly (called “seizing”), don’t panic. Work fast to pour it into the mould even if it’s lumpy. It will still saponify and produce a perfectly valid rustic bar.
⚠️ During the process: If lye solution splashes on your skin, rinse immediately with cool running water for at least 15 minutes. Do not apply vinegar to skin. Seek medical attention if irritation persists.
Choosing oils, scents, and natural additives
After mastering the steps, your ingredient choices will make your bars uniquely yours.
The oils you choose directly determine how your finished soap feels, lathers, and performs on skin. Incorporating the right natural scents and additives at trace takes your bar from functional to truly artisanal.
Base oils and their properties
- 🫒 Olive oil creates a gentle, conditioning bar with a silky lather. It is ideal for sensitive and dry skin types. High olive bars need longer curing, up to 8 weeks, to harden properly.
- 🥥 Coconut oil produces fluffy, cleansing lather and adds hardness. Use it at 20% to 30% of your total oil weight to avoid over-drying.
- 🧴 Shea butter boosts skin conditioning and adds a creamy, luxurious feel. It works beautifully at 5% to 15% of the total oils.
- 🌻 Sunflower oil is high in linoleic acid, which supports the skin barrier and suits acne-prone or oily skin types.
- 🫘 Castor oil is used in small amounts (5% to 10%) to boost lather thickness and cling.
Choosing the best natural soap oils for your skin type is a worthy first research step. You can also explore top body care ingredients to expand your formulation vocabulary.
Natural scents and colourants
- Lavender essential oil: Calming, skin-safe, and reliable at trace. A classic starter scent.
- Peppermint essential oil: Refreshing and invigorating. Use at 1% to 2% of total oils.
- Tea tree essential oil: Antimicrobial properties make it great for oily or blemish-prone skin.
- French green clay: Adds a subtle green hue and gentle detoxifying properties.
- Activated charcoal: Creates a striking black bar with a purifying reputation.
- Turmeric powder: Warm golden colour and traditional skin-brightening associations.
- Dried calendula petals: Beautiful speckling and mild skin-soothing benefits.
Pro Tip: For sensitive skin, skip colourants entirely and go unscented or use a low dose of lavender essential oil. For a scrubby exfoliating bar, stir in finely ground oat flour or poppy seeds at trace. Personalising your recipe is what separates artisanal soap from anything on a store shelf.
Troubleshooting and common mistakes
Even with careful preparation, a few challenges are common for soap makers. Here’s how to handle them.
- False trace: Batter looks thick but is actually just solidified oil from cooling too fast. Gently warm the container in a water bath and re-blend.
- Separation or ricing: Oils and lye solution separate into clumps. This sometimes happens with fragrance oils that accelerate trace. Stick blend aggressively. If it doesn’t come back together, heat it in the oven at 93°C (200°F) until it hot process saponifies.
- Soft bars after unmoulding: This usually means too high a water content, too much of a soft oil, or a high superfat percentage. A high superfat rate reduces lather and keeps bars soft longer. Let them cure a full extra two weeks.
- Scorched milk or juice: If you are using coconut milk or orange juice as your lye liquid, fresh liquids scorch from the lye heat. Freeze them solid first and add lye to the frozen liquid gradually.
- Coconut oil seizing: Coconut oil produces rapid trace. Work quickly and consider using a smaller portion in your recipe until you are comfortable with the process speed.
- Dreaded orange spots (DOS): Dreaded orange spots are small orange marks that appear during curing, indicating rancid oils. Use fresh oils and a touch of rosemary antioxidant to prevent them.
Understanding the difference between handmade and commercial soaps helps you appreciate why these troubleshooting steps matter. Handmade soap is a living, saponifying product, not a controlled factory formulation.
🚨 Emergency first aid for lye contact: Rinse skin or eyes immediately with cool running water for a minimum of 15 minutes. Do not use vinegar on your skin as it can worsen irritation. Seek medical attention promptly if burning, redness, or swelling continues.
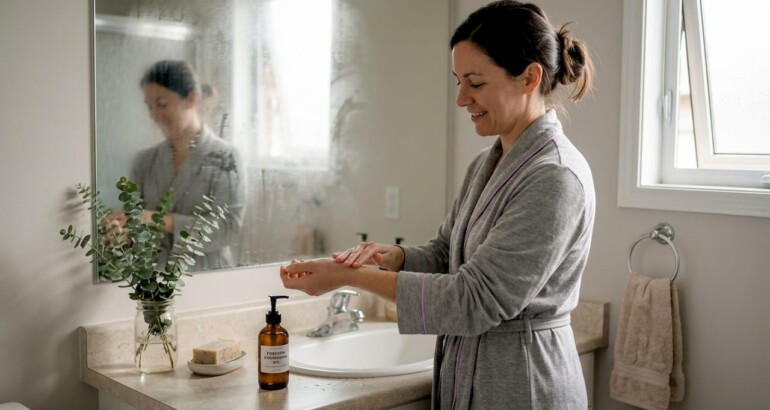
Expectations: curing, safety, and how to know your soap is ready
With your bars in the mould, the waiting game begins. Here’s what happens next and how to know when you’re done.
Curing is not optional. A 4 to 6 week cure on a well-ventilated rack is what transforms a soft, alkaline block into a mild, hard, skin-safe bar with a stable pH of 9 to 10. Skipping this step produces a bar that may feel harsh, lather poorly, and have a shorter shelf life.
During curing, water evaporates from the bar, the crystalline structure of the soap hardens, and the pH drops from a highly alkaline 13 or 14 down to the safe range. Patience genuinely pays off here.
Final checks before use
- Visual check: Surface should be firm, dry, and even. No visible cracking, soda ash (a white powdery layer), or orange spots.
- Hardness test: Press firmly with your fingernail. A cured bar should not dent easily.
- pH test: Use pH strips or a digital pH meter. Aim for pH 9 to 10 as a safe and mild result.
- Zap test: Touch the tip of your tongue very briefly to the edge of the bar. A slight tingle is normal. A sharp “zap” sensation means active lye remains and the bar needs more curing time.
- Scent check: Your chosen essential oils should still be detectable but mellow. Harsh or chemical-smelling bars need more time.
💡 “Patience is the final ingredient. A bar that cures fully is gentler, harder, and longer-lasting than one rushed to the shower.”
Why true natural soap is worth the care (and myth-busting advice)
You’ve learned the process, but what really makes DIY natural soap special? Here’s an honest perspective from experience.
The biggest barrier most people face is fear of lye. We understand that completely. Sodium hydroxide sounds intimidating. But here is the reality: lye is safe when measured correctly, and no residual lye remains in properly cured cold process soap. Every bar of true soap on the planet, natural or otherwise, was made with lye. There are no exceptions.
The melt-and-pour shortcut is appealing for beginners, and we respect that it works as an entry point. However, melt-and-pour glycerin bases avoid the lye step entirely, which means they also lack full customisation and the truly natural saponification process. You are melting someone else’s soap base and adding fragrance. It is craft, but it is not soap making in the fullest sense.
DIY cold process gives you total transparency. You know every gram that went into that bar. You chose the oils, selected the botanicals, and controlled the cure time. That level of accountability is something no commercial product can offer you at a reasonable price point.
Science is your friend here, not your enemy. When you embrace the chemistry of saponification, measure precisely, respect your PPE, and trust the curing timeline, you produce something genuinely extraordinary. The real skincare benefits of a well-made natural bar, including preserved glycerin, skin-nourishing oils, and pure botanicals, are simply not available in the heavily processed, glycerin-stripped bars sold in most supermarkets. You are not just making soap. You are practising a craft that puts skin health first.
Explore more natural skincare with ZenChemy Lab
Ready for your next natural skincare adventure? ZenChemy Lab can help you go further.
If this guide has sparked your love for artisanal soap making, you are just getting started. Understanding the difference between handmade and commercial soaps will deepen your appreciation for every bar you create. When you want to experience beautifully crafted bars while you continue to hone your own skills, browse the Artisan Soap Collection at ZenChemy Lab, each one formulated and produced right here in Canada. And when you are ready to build a full natural care routine around your handmade soap, our skincare routine tips give you a practical, botanical-focused framework.
ZenChemy Lab is here to support every step of your natural skincare journey, from your first batch to a full artisanal routine.
Frequently asked questions
Can you make natural soap without lye?
All true soap requires lye to saponify oils into soap, but no lye residue remains in a properly cured cold process bar. Melt-and-pour avoids lye but is not truly natural soap making.
What safety gear do I need for homemade soap?
You need goggles, nitrile gloves, and an apron plus long sleeves, and you should always work in a ventilated area away from children and pets.
How long does natural soap need to cure?
Cold process soap cures for four to six weeks on a ventilated rack, allowing hardness, mildness, and a safe pH of 9 to 10 to develop fully.
What if I spill lye on my skin?
Rinse with cool water immediately for at least 15 minutes and do not apply vinegar to the skin. Seek medical attention if irritation continues.
Is melt-and-pour soap as natural as cold process?
Melt-and-pour bases are easier for beginners but offer far less customisation and are not considered truly natural compared to cold process soap made from scratch.