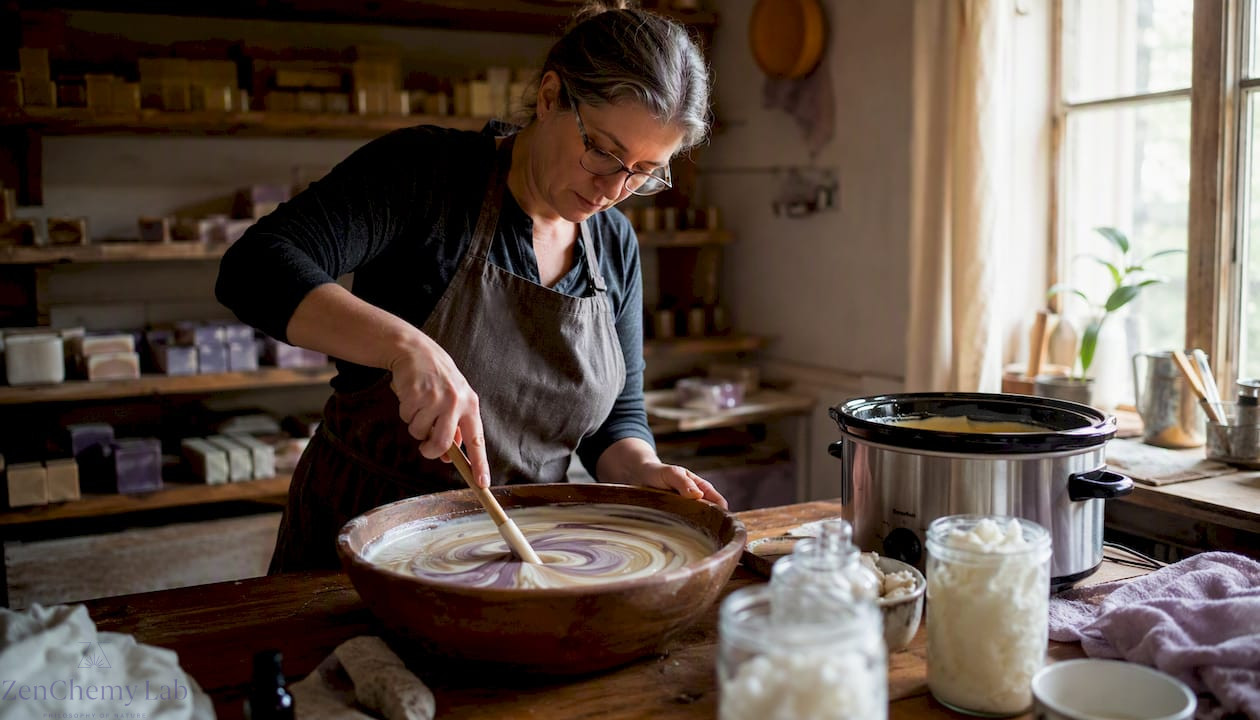
If you want finely detailed bars with swirls, layers, and a silky finish, cold process is your method. If you need a usable bar within days and a rustic, textured look suits your project, hot process gets you there faster.
Here is the quick decision rule:
- Choose cold process (CP) when design matters most: you want swirls, embedded layers, or a smooth, polished bar, and you can wait 4–6 weeks for the cure.
- Choose hot process (HP) when speed is the priority: you need bars ready within days, you prefer a more natural, chunky aesthetic, and you are comfortable with a slightly less predictable texture.
- Buy instead when you want to skip lye entirely, have no time to cure, or simply want a guaranteed result from a trusted artisan source.
Key takeaways
Cold process delivers superior design control and skin-nourishing results, but hot process wins on speed — your choice comes down to timeline and the finish you want.
| Point | Details |
|---|---|
| CP for design and skin care | Cold process suits swirls, layers, and sensitive-skin formulas; cure time is 4–6 weeks. |
| HP for speed | Hot process bars are usable within 24–72 hours, ideal for tight timelines and recipe testing. |
| Lye safety is non-negotiable | Both methods require NaOH, PPE, and ventilation — neither method eliminates lye risk at the mixing stage. |
| Add fragrances at the right stage | CP: add at trace. HP: add after the cook, off heat, to protect delicate scent notes. |
| Zenchemylab cold-process soaps | Skip the lye and cure time entirely with Zenchemylab’s handcrafted, non-toxic cold-process bars. |
Table of Contents
- How cold process and hot process soap actually work
- Cold process vs hot process soap: side-by-side comparison
- Pros and cons of each method
- Which method is right for you?
- Lye safety: what every maker needs to know
- Starter recipes and when to add fragrances
- Common mistakes and how to fix them
- Why cold process tends to win for artisan makers
- Prefer to skip the lye? Zenchemylab has you covered
- Sources
How cold process and hot process soap actually work
Both methods start with the same chemistry: oils or butters combined with a sodium hydroxide (NaOH) lye solution trigger saponification, the chemical reaction that turns fats into soap and glycerin. The difference is when that reaction completes.
Cold process keeps temperatures relatively low, commonly in the 30–50°C range. You blend your oils and lye solution, mix to trace (the point where the batter thickens like a light pudding), pour into moulds, and let the bars sit. Saponification continues slowly inside the mould over the next 24–48 hours, but the bars still need a full cure of 4–6 weeks before they are ready to use. That curing period does more than finish the chemistry: it drives off excess water, which hardens the bar and stabilises the lather.
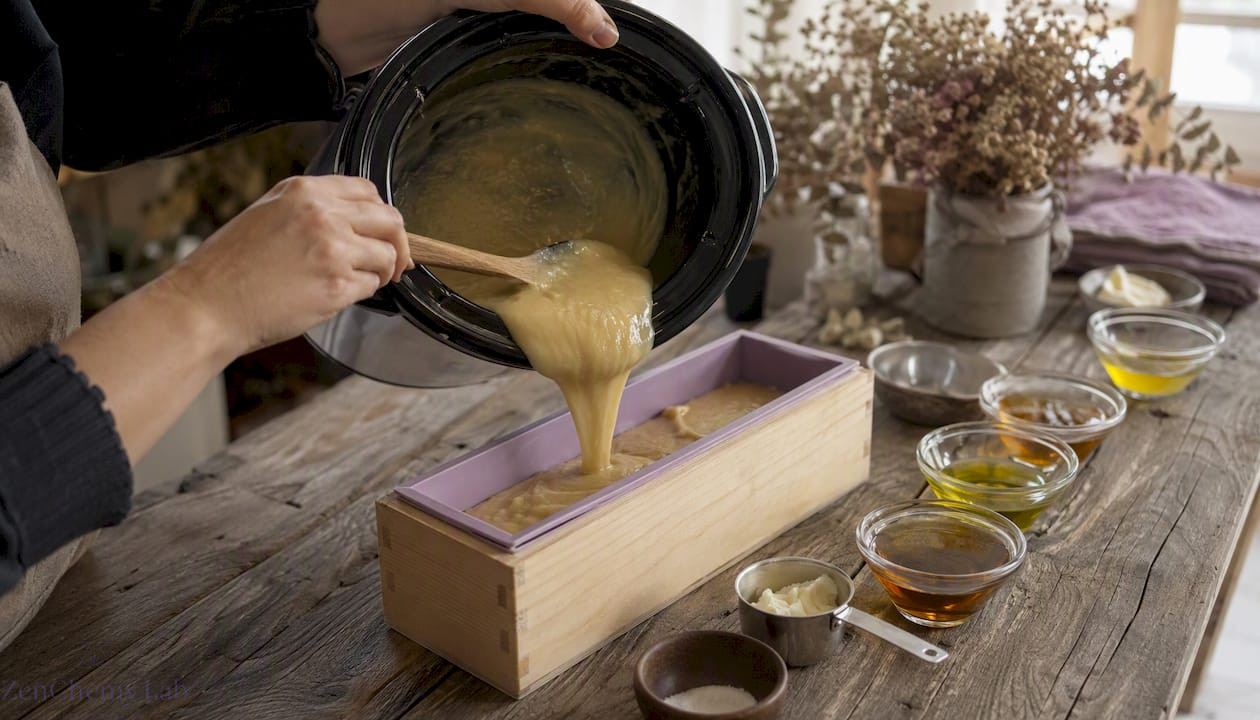
Hot process uses sustained heat, typically in a slow cooker or oven at roughly 65–95°C, to push saponification to completion before the soap ever reaches the mould. Once the batter passes through its characteristic “applesauce” stage and the cook is done, you scoop or press it into moulds. The bars are technically usable within 24–72 hours, though a short rest of 1–2 weeks still improves hardness.
✅ Key temperature difference: CP works at 30–50°C; HP cooks at 65–95°C. That gap in heat is what separates a smooth, pourable batter from a thick, cooked paste.
The flow for both methods looks like this: oils + lye solution → trace → [CP: pour and cure 4–6 weeks] or [HP: cook until done, then mould and rest 1–2 weeks].
Cold process vs hot process soap: side-by-side comparison
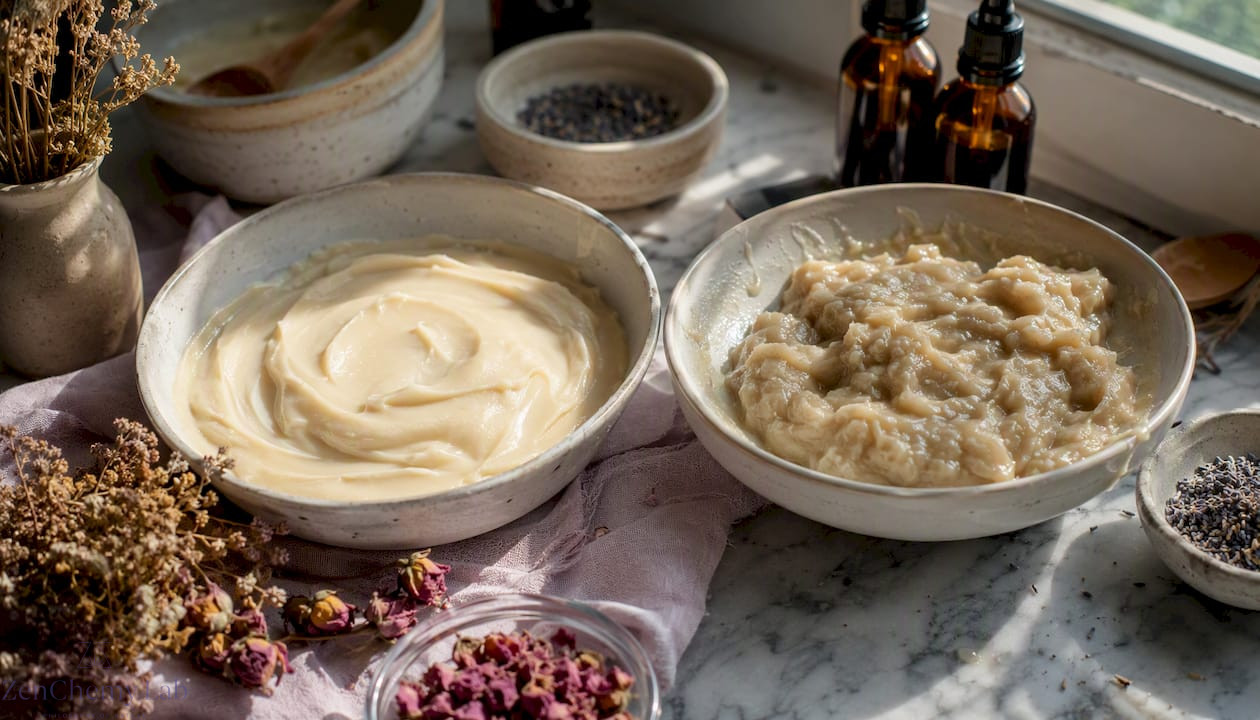
| Dimension | Cold Process (CP) | Hot Process (HP) |
|---|---|---|
| Best for | Detailed designs, swirls, layers, gift-quality bars | Fast turnaround, rustic bars, sensitive-skin testing |
| Timeline to usable bar | 4–6 weeks cure (unmould at 24–48 hrs) | 24–72 hrs (1–2 week rest improves hardness) |
| Appearance & texture | Smooth, glossy top; fine detail possible | Rustic, textured surface; chunky or matte finish |
| Equipment & skill | Beginner-friendly; stick blender, moulds, thermometer | Slightly more active monitoring; slow cooker or oven |
| Fragrance & additive timing | Added at light-to-medium trace | Added after cook, off heat, to protect delicate notes |
| Lye handling | Active lye present during pour; PPE required | Active lye present during mix; PPE required throughout |
A few practical notes on what these rows mean in real life:
- The 4–6 week cure for CP is not optional. Skipping it yields a soft, short-lived bar even when saponification looks complete.
- HP’s rustic finish is not a flaw for every maker. Many artisans lean into it with textured tops and natural colourants.
- Both methods require the same lye safety discipline at the mixing stage. HP does not eliminate lye risk.
Pros and cons of each method
Cold process
✅ Pros
- Full creative control: swirls, layers, embeds, and fine colour gradients are all achievable.
- Smooth, professional finish that photographs well and sells well.
- Precise oil selection lets you tailor the formula for sensitive or dry skin without synthetic additives.
- Lower working temperatures preserve heat-sensitive botanicals added at trace.
⚠️ Cons
- The 4–6 week cure time is a real constraint for last-minute gifts or quick-turnaround projects.
- Soda ash (a white, powdery film) can form on the surface during cure.
- Some fragrance oils accelerate trace, making complex designs harder to execute.
- Requires patience and planning ahead.
Use-case snapshot: Perfect for a gift batch you are planning 6–8 weeks out, a market table with polished bars, or a sensitive-skin formula where ingredient control matters most.
Hot process
✅ Pros
- Bars are usable within days, not weeks, which suits tight timelines.
- Fragrance oils and essential oils are added after the cook, reducing the risk of acceleration or morphing.
- Saponification is complete before moulding, so there is less uncertainty about lye neutralisation.
- Good for testing new recipes quickly before committing to a large CP batch.
⚠️ Cons
- Thick, cooked batter is harder to swirl or layer; fine designs are difficult to achieve.
- Surface texture is typically rough or rustic, which requires a different aesthetic approach.
- Requires active monitoring during the cook to prevent scorching or overflow.
- Bars can look less uniform, which matters if you are selling or gifting.
Use-case snapshot: Ideal for a maker who wants to test a new oil combination this weekend, needs bars for a last-minute event, or prefers a natural, unpolished look.
Which method is right for you?
Run through this quick checklist before you decide:
- How much time do you have? If you need bars in under a week, choose HP. If you can plan 4–6 weeks ahead, CP opens up far more design options.
- What finish do you want? Smooth, swirled, and polished points to CP. Rustic, textured, and natural points to HP.
- How sensitive is your skin (or your recipient’s)? Both methods produce genuine soap, but CP allows more deliberate oil selection for skin-specific formulations.
- What equipment do you have? A stick blender and moulds cover CP. HP adds a slow cooker or oven to the list.
- How complex is your design? Intricate swirls or layers require CP. A single-colour, textured bar works beautifully in HP.
- Are you comfortable with lye? Both methods require it. If you want to skip lye entirely, buying handcrafted soap is the right call.
Scenario recommendations
Beginner weekend maker: Start with HP. The shorter timeline means faster feedback, and you can test your recipe before investing weeks in a CP batch. A simple olive-coconut-palm formula in a slow cooker is a low-risk first project.
Gift maker on a deadline: If the event is more than 6 weeks away, CP gives you a polished, gift-worthy bar. Under 6 weeks? Go HP, embrace the rustic look, and wrap it beautifully.
Sensitive-skin formulation: CP is the stronger choice here. You control every oil, every additive, and every percentage. Pair it with a lye calculator to nail your superfat level.
Recipe tester: HP is your prototyping tool. Make a small batch, evaluate the lather and skin feel within days, then scale the winner into a CP batch for the final product.
Prefer not to DIY: Skip both methods and choose a handcrafted bar made by a trusted artisan. No lye, no cure time, no guesswork.
Lye safety: what every maker needs to know
Sodium hydroxide (NaOH) is a caustic alkali. It causes chemical burns on contact with skin or eyes, and the mixing reaction with water generates significant heat. Neither CP nor HP eliminates this risk at the mixing stage, so safety is non-negotiable for both.
PPE and workspace essentials:
- Wear nitrile or rubber gloves, safety goggles (not just glasses), and long sleeves every time you handle lye.
- Work in a well-ventilated space: lye dissolving in water releases fumes that irritate the respiratory tract.
- Always add lye to water, never water to lye, to prevent a violent splashing reaction.
- Use heat-resistant containers (stainless steel or heavy-duty HDPE plastic) for mixing. Avoid aluminium, which reacts with NaOH.
- Keep children and pets out of the workspace until all equipment is washed and stored.
- Store lye in a sealed, clearly labelled container in a cool, dry place, away from moisture and food.
- Source reagent-grade NaOH from a reputable supplier. Drain-cleaner lye often contains impurities that affect saponification.
Emergency first aid:
- Skin contact: Rinse immediately with large amounts of cool running water for at least 20 minutes. Do not use vinegar or other acids to “neutralise” — this generates heat and worsens the burn. Seek medical attention if the area is large or pain persists.
- Eye contact: Flush with cool running water for at least 20–30 minutes and seek emergency medical care immediately.
Pro Tip: Always calculate your lye quantity using a dedicated soap calculator before you mix. A tool like SoapMakingFriend’s recipe builder lets you set your superfat percentage and confirms exact NaOH amounts, removing the guesswork that causes dangerous measurement errors. For a deeper look at safe DIY bath product practices, the Zenchemylab organic bath products guide covers PPE and workspace setup in practical detail.
Starter recipes and when to add fragrances
Cold process starter recipe (approx. 500g batch)
This is a simple, skin-friendly formula built around three oils.
Steps:
- Weigh all oils and melt shea butter. Allow to cool to 35–45°C.
- Weigh distilled water into a heat-resistant container. Slowly add NaOH to water (never reverse). Stir until dissolved. Allow lye solution to cool to 35–45°C.
- Combine oils and lye solution. Stick-blend to light trace (batter looks like thin pudding).
- Add fragrance or essential oil (up to 3% of total oil weight) and any colourants. Stick-blend briefly to incorporate.
- Pour into lined mould. Insulate with a towel if you want a full gel phase (deeper colour).
- Unmould at 24–48 hours. Cut bars and place on a rack.
- Cure 4–6 weeks in a cool, dry spot with good airflow before use.
Hot process starter recipe (approx. 500g batch)
Same oil profile as above, adapted for the slow cooker.
Steps:
- Melt oils in the slow cooker on low. Cool to approximately 55–60°C.
- Prepare lye solution as above. Cool slightly, then combine with oils in the slow cooker.
- Stick-blend to trace, then set the slow cooker to low/warm.
- Cook for 45–60 minutes, stirring every 15 minutes. The batter will go through a gel, then a wavy, then an applesauce stage. It is done when a small amount pressed to your (gloved) palm does not sting.
- Remove from heat. Add fragrance or essential oil now, off heat, and stir well to incorporate.
- Scoop or press into lined moulds. Smooth the top as best you can.
- Unmould after 24 hours. Bars are usable within 24–72 hours; a 1–2 week rest improves hardness.
Additive timing: when to add what
Converting a CP recipe to HP (or vice versa) is possible, but water content and cook time often need adjustment. HP typically uses slightly less water because the cook evaporates some liquid.
Pro Tip: If your fragrance oil causes the CP batter to seize suddenly (turning thick and lumpy), work fast: scrape everything into the mould immediately and press it in. The soap will still saponify correctly, though the surface will be rough. This is called a “forced trace” and is salvageable, not a failed batch.
Common mistakes and how to fix them
Cold process problems
- Soda ash: A white, powdery film on the surface. Cause: exposed batter reacting with air during cure. Fix: spray the top with 91% isopropyl alcohol immediately after pouring, or plane the surface off after cure.
- Cracking or overheating: Deep cracks or a volcano-like eruption from the mould. Cause: too much insulation or high-sugar additives generating excess heat. Fix: remove insulation and move to a cooler spot. Badly cracked bars can be rebatched.
- Separation or “curdling”: Batter looks broken or oily. Cause: temperature mismatch between oils and lye, or a fragrance oil that does not behave well. Fix: stick-blend immediately and work quickly to trace. If the mixture has not fully hardened, re-blending and temperature correction can often save the batch.
- Soft bars after unmoulding: Cause: unmoulded too early, or cure time cut short. Fix: return to the mould for another 24 hours, then cure the full 4–6 weeks.
Hot process problems
- Scorching: Dark spots or a burnt smell during the cook. Cause: heat too high or batter left unattended. Fix: reduce heat immediately and stir. Badly scorched soap may have an off smell that persists.
- Overflow: Batter rises and spills over the slow cooker. Cause: too much batter for the cooker size, or heat too high. Fix: stir it back in and reduce heat. Use a cooker that is at least twice the volume of your batch.
- Rough, crumbly texture: Cause: overcooked or too little water. Fix: add a tablespoon of warm water and stir vigorously. If the batch is too dry, it can be rebatched with a small amount of water.
Storage and shelf life (both methods)
Finished bars from both methods can develop orange spots (called “dreaded orange spots” or DOS in maker communities) if oils go rancid. Prevent this by using fresh oils, storing finished bars in a cool, dark place with good airflow, and considering a small amount of rosemary oleoresin extract (ROE) as a natural antioxidant in your formula. Bars stored well typically last 1–2 years.
When to discard: If a bar smells strongly rancid, shows mould (fuzzy growth, not soda ash), or the lather causes irritation, discard it. Soda ash and minor surface imperfections are cosmetic only and safe to use.
Why cold process tends to win for artisan makers
Most experienced artisan soapmakers gravitate toward cold process, and the reason is not nostalgia. It is control. CP gives you a pourable, workable batter that holds colour, accepts swirls, and lets you build a bar that looks as intentional as it is. When you are formulating for ingredient-conscious skin care, that level of precision matters: you choose every oil, every botanical, every percentage, without heat degrading what you put in.
Hot process has genuine strengths that deserve honest acknowledgement. The faster turnaround is real, and for makers who prototype recipes or sell at farmers’ markets where stock turns over quickly, HP is a practical workhorse. The post-cook fragrance window is also a genuine advantage for essential oils that would otherwise morph or fade under the heat of saponification.
Still, if you asked most artisan makers which method they would choose for a bar they were proud of, the answer would almost always be cold process. The cure time feels like a constraint until you hold a well-made bar after six weeks and understand what that patience produces.
The right method is the one that fits your timeline, your aesthetic, and your reason for making soap in the first place.
Prefer to skip the lye? Zenchemylab has you covered
Not every maker wants to manage lye, wait six weeks, or troubleshoot a seized batter. That is a completely reasonable position, and it is exactly why handcrafted artisan soap exists.
Zenchemylab’s handcrafted cold-processed soaps are made with non-toxic, cruelty-free ingredients and none of the synthetic additives found in commercial bars. You get the full benefit of the cold process method, including precise oil selection, retained glycerin, and a skin-nourishing formula, without touching a gram of NaOH. Every bar is made in small batches and cured properly, so the lather, hardness, and skin feel are exactly what a well-made CP bar should be. Browse the handmade collection to find a formula that suits your skin, or explore the full body care range for complementary natural skincare. If you are ready to try one, the shop is open now.
Sources
External resources:
- Cold process vs hot process soap: A quick guide
- What Method of Soapmaking is Right for You?
- The Pros & Cons of Soapmaking Methods (Cold Process …)
- Convert Hot Process Soap Recipes to Cold Process
- Soapmakingfriend
From Zenchemylab: