
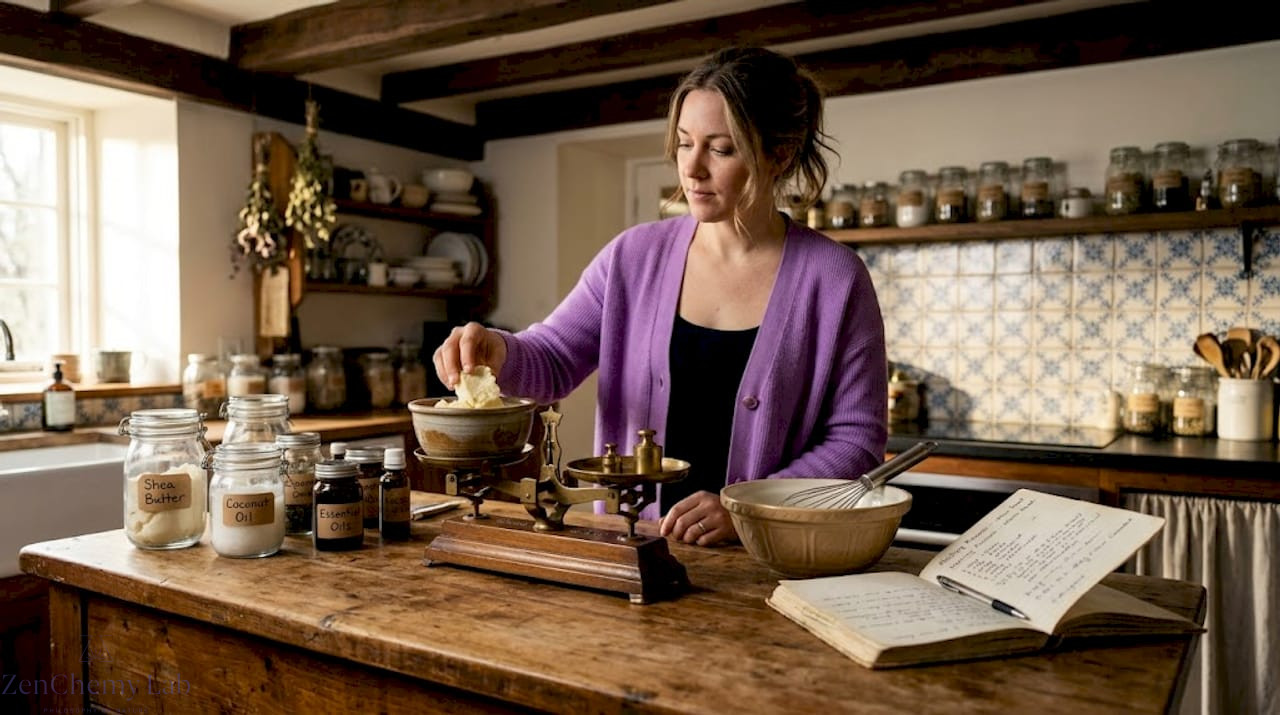
TL;DR:
- Learning how to properly formulate natural creams requires understanding emulsion types, precise measurements, and temperature control to prevent separation.
- Choosing the correct ingredients, emulsifiers, and preservatives, along with proper equipment and troubleshooting techniques, ensures a stable, skin-safe product.
You’ve measured everything carefully, followed a recipe, and still ended up with a greasy, separated mess in your jar. Learning how to formulate natural creams is genuinely exciting, but it trips up even enthusiastic DIYers when the science behind emulsions gets skipped. This guide covers everything you actually need: the right ingredients, exact ratios, step-by-step formulation, and how to fix the problems that show up after the fact. Whether you’re making organic creams for personal use or building a self-care ritual from scratch, what follows will give you a solid, repeatable foundation.
Table of Contents
- Key takeaways
- Ingredients and equipment for natural cream formulation
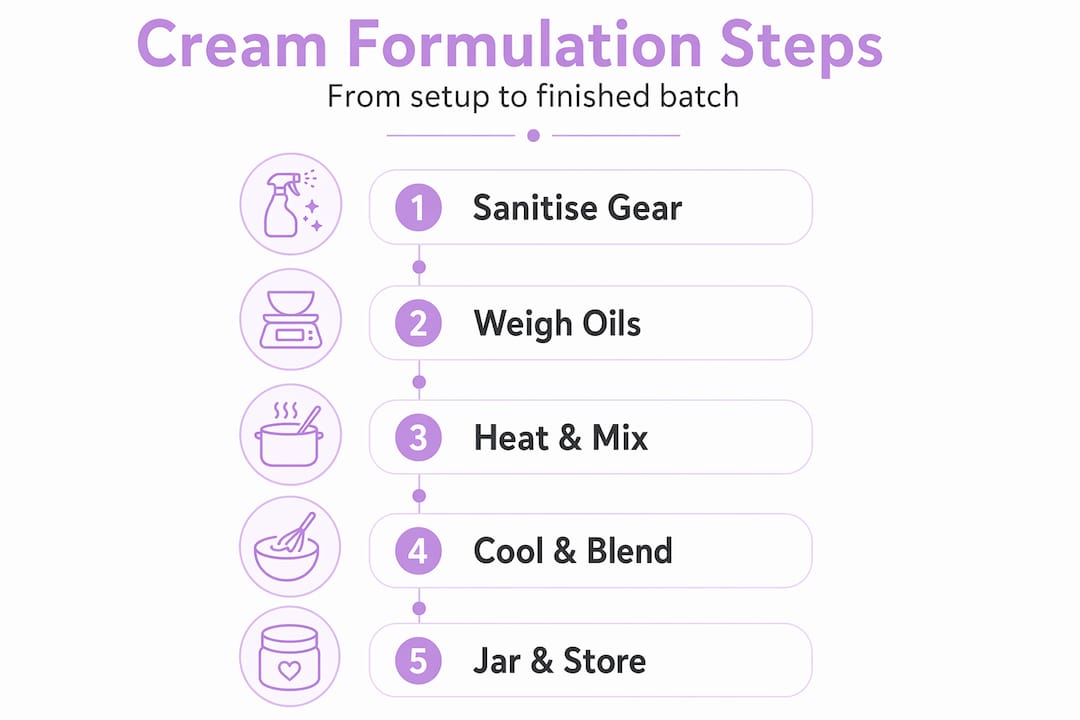
- Step-by-step cream formulation process
- Troubleshooting texture and separation issues
- Formulating for skin types and natural actives
- My honest take on learning cream formulation
- Explore natural ingredients at Zenchemylab
- FAQ
Key takeaways
| Point | Details |
|---|---|
| Emulsion type matters first | Choose oil-in-water for lighter daily creams or water-in-oil for richer barrier formulas before selecting any other ingredient. |
| Measure everything by weight | Use a digital scale precise to 0.01g for reproducible, stable batches every time. |
| Temperature matching is non-negotiable | Heat both oil and water phases to 71–77°C before combining to prevent emulsion failure. |
| pH directly affects safety | Test finished cream pH and adjust to 4.5–6.5 for preservatives and emulsifiers to work correctly. |
| Start small and iterate | Formulate 100g test batches first so adjustments are inexpensive and low-risk. |
Ingredients and equipment for natural cream formulation
Before you can start formulating herbal lotions or any emulsion-based cream, you need to understand what each ingredient category actually does. Natural cream recipes are built from two incompatible phases that need to be coaxed together. Get to know them properly and everything else becomes much clearer.
Water phase ingredients
The water phase forms the bulk of most oil-in-water creams, often making up 60–80% of the total formula. Your core options include:
- Distilled water: Always use distilled, never tap. Tap water contains minerals and microbes that destabilise emulsions and shorten shelf life.
- Hydrosols: Rose, lavender, or chamomile hydrosols replace some or all distilled water and bring gentle botanical actives into the formula.
- Humectants: Glycerine, sodium PCA, and panthenol draw moisture to the skin. Glycerine at 3–5% is a reliable starting point for beginners.
Oil phase ingredients
Different oils and butters influence cream texture, absorption, and skin feel significantly. Linoleic acid-rich oils like rosehip and hemp seed feel lightweight and absorb quickly. Oleic acid-dominant oils like sweet almond and olive feel richer and are better suited to dry skin. Butters like shea and mango add viscosity and a protective quality to the finished cream.
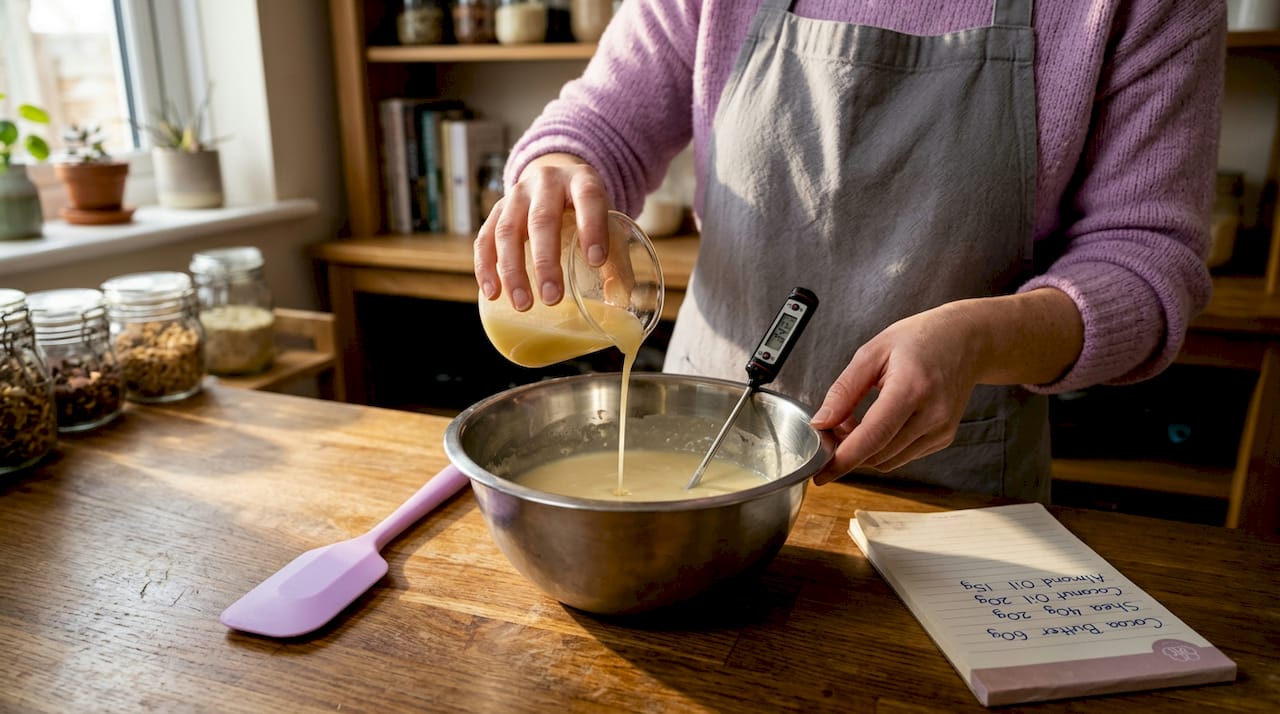
The oil phase in a balanced O/W system typically runs at 15–25% of the total formula, with emulsifier making up 3–6% of that total weight.
Emulsifiers and preservatives
Choosing the right emulsifier is what separates a stable cream from one that splits within days. For oil-in-water (O/W) creams, look at BTMS-50, Olivem 1000, or Polawax. For water-in-oil (W/O) creams used as richer barrier products, Lanette W or beeswax-based systems work well. The choice between O/W and W/O emulsions defines how quickly your cream absorbs, how it feels on skin, and what it’s best suited for.
Preservatives are not optional in any formula that contains water. A 1% broad-spectrum preservative like Geogard ECT can support a shelf life of up to 12 months when stored correctly.
Pro Tip: If you’re new to emulsions and want a simpler starting point, anhydrous formulations like whipped balms contain no water and require no emulsifier or preservative. They feel heavier on skin, but they’re a genuinely useful way to learn about oils and butters before adding the complexity of emulsion chemistry.
Equipment you actually need
| Tool | Purpose | Minimum spec |
|---|---|---|
| Digital scale | Weighing all ingredients | 0.01g precision |
| Heat-proof beakers | Melting and combining phases | 250ml and 500ml glass |
| Thermometer | Monitoring phase temperatures | Reads to 90°C |
| Immersion blender | Emulsification | Variable speed |
| pH strips or meter | Testing finished formula | Range 3.5–7 |
| Sanitised jars | Packaging and curing | Airless pumps preferred |
Sanitise every piece of equipment with 70% isopropyl alcohol before use. One contaminated spoon can ruin an entire batch.
Step-by-step cream formulation process
This is where making organic creams comes together. Follow these steps in order and you’ll produce a stable, pleasant-textured cream on your first real attempt.
-
Weigh every ingredient separately. Measuring by weight rather than volume is what makes your formula reproducible. Use a 0.01g precision scale and record every measurement in a formulation log.
-
Separate into phases. Place all water-soluble ingredients (distilled water, hydrosols, humectants, water-soluble actives) in one heat-proof beaker. Place all oil-soluble ingredients (carrier oils, butters, waxes, emulsifier) in a second beaker.
-
Heat both phases simultaneously. Bring each beaker to 71–77°C (160–170°F) using a double boiler or water bath. This temperature match is the single most critical step. If one phase is significantly cooler than the other when you combine them, the emulsion will fail.
-
Combine and emulsify. Pour the water phase slowly into the oil phase while using your immersion blender. Use 10–15 second bursts at medium speed rather than continuous blending. This controls shear and prevents air entrapment, which creates foam and can destabilise the final texture.
-
Cool with stirring. Allow the emulsion to cool to around 40°C, stirring gently and consistently. Do not leave it unattended during this phase. Uneven cooling creates pockets of separation.
-
Add cool-down phase ingredients. Once below 40°C, add heat-sensitive ingredients: preservative (at 1%), fragrance, essential oils, and any actives like niacinamide or vitamin C. These are added at this stage because heat degrades them.
-
Test and adjust pH. A pH of 4.5–6.5 is necessary for both preservative efficacy and skin safety. If your reading is too high, a small amount of lactic acid or citric acid solution (10% dilution) brings it down. Retest after every adjustment.
-
Package immediately. Fill your sanitised containers while the cream is still slightly fluid. Airless pump bottles significantly extend shelf life by reducing oxidation and contamination.
Pro Tip: Make your first batch at 100g total weight. At that scale, a 1% ingredient is just 1g, which is easy to weigh and adjust. Scaling up to 500g before you’ve confirmed the formula is stable is one of the most common and costly beginner mistakes.
Comparing emulsion types at a glance
| Feature | Oil-in-water (O/W) | Water-in-oil (W/O) |
|---|---|---|
| Texture | Light, non-greasy | Rich, occlusive |
| Absorption | Fast | Slow |
| Best for | Daily moisturiser, oily or combination skin | Dry, sensitive, or barrier-compromised skin |
| Preservative need | High (water phase dominant) | Lower (less free water) |
| Complexity | Moderate | Higher |
Troubleshooting texture and separation issues
Even experienced formulators hit problems. The good news is that most issues in step-by-step cream formulation are caused by just a handful of root causes, and they’re fixable.
Emulsion separation is the most common problem. It usually means one of three things: the phases were not at the same temperature when combined, the emulsifier percentage was too low, or the shear was insufficient during emulsification. Revisit your temperatures first. If they were matched, increase your emulsifier by 0.5% and retest.
Graininess in the finished cream is almost always caused by butter crystallisation. Shea butter in particular forms grainy, sandy particles when it re-solidifies too slowly. The fix is flash cooling: after emulsification, place the beaker in an ice bath and stir continuously until the cream reaches 25–30°C. This rapid cooling locks the butters into a fine crystal structure instead of forming large, gritty ones.
- ✅ Too greasy: Reduce the oil phase by 3–5% and replace with additional humectant or water.
- ✅ Too thin: Increase butter content, add a thickener like cetyl alcohol (1–2%), or raise emulsifier slightly.
- ✅ Tacky or sticky: Reduce glycerine below 3% and assess humectant type. Sodium hyaluronate at 0.1% is less tacky than high-percentage glycerine.
- ✅ Short shelf life: Check pH, confirm preservative percentage and type, and assess packaging.
Pro Tip: Always patch-test a reformulated cream on the inside of your wrist for 24 hours before applying it to your face. Even an ingredient ratio change can shift sensitisation potential, especially if you’re working with natural cream formulas that include botanical extracts.
Formulating for skin types and natural actives
The real power of learning how to formulate natural moisturisers comes from matching your formula to specific skin needs, not just following a generic recipe.
| Skin type | Recommended oils | Suitable butters | Key actives |
|---|---|---|---|
| Oily or acne-prone | Rosehip, hemp seed, squalane | Kokum (non-comedogenic) | Niacinamide 2–5%, zinc PCA |
| Dry or dehydrated | Avocado, sea buckthorn, olive | Shea, mango | Panthenol 1–2%, sodium hyaluronate |
| Sensitive | Jojoba, calendula-infused sunflower | Cocoa (lightly) | Allantoin 0.1–0.5%, bisabolol |
| Combination | Argan, sweet almond | Shea (small %) | Niacinamide 2%, glycerine |
| Mature | Rosehip, pomegranate seed | Mango, shea | Coenzyme Q10, vitamin E |
When using essential oils for creams, safety concentration is non-negotiable. Face creams should contain no more than 0.5% essential oil, and body creams should stay at or below 1%. Lavender, frankincense, and carrot seed are well-tolerated options for most skin types.
A few additional considerations when formulating with natural actives:
- Vitamin C (ascorbic acid) is pH-dependent and works best below pH 3.5, which conflicts with preservation needs. Use a stabilised derivative like ascorbyl glucoside instead.
- Niacinamide and vitamin C can interact to form a yellow compound when used together. Separate them into morning and evening products.
- Fragrance allergens must be disclosed in any product sold commercially in Canada, even when derived from natural essential oils.
Understanding pH balance and preservation will also sharpen your decisions here, especially when you’re incorporating actives that shift the formula’s overall chemistry.
My honest take on learning cream formulation
I’ve seen a lot of people come to natural cream formulation expecting that “natural” means “simple.” It doesn’t. What it means is that you’re working with ingredients that behave in nuanced ways, and the margin for error in emulsion work is genuinely smaller than it is in, say, balm making.
What I’ve learned is that the emulsion type decision is the one most beginners skip, and it’s the one that causes the most grief down the line. You can spend hours perfecting your oil selection and active blend, but if you chose the wrong emulsion type for your skin concern, the whole product underperforms. Understanding emulsion type upfront saves you from reformulating the same product three times.
My other hard-won lesson: temperature is more important than most tutorials admit. The 71–77°C target isn’t arbitrary. It’s the range where emulsifiers are fully melted and both phases have enough kinetic energy to bind. I’ve tested what happens when you rush this step, and the resulting cream always looks fine for the first 48 hours before separating completely.
Start small. Reformulate without ego. And accept that your fifth version is always going to be better than your first.
— Alex
Explore natural ingredients at Zenchemylab

At Zenchemylab, the focus is on making your formulation journey as grounded and rewarding as possible. Whether you’re working through your first natural moisturiser or building out a full making cosmetics practice, the ingredient selection and learning resources available are curated with the serious DIY formulator in mind. You’ll find carrier oils, butters, emulsifiers, and botanical actives chosen for quality and purity, alongside guidance to help you use them confidently.
Browse the natural skin collection to find the raw materials that support stable, effective formulations. And if you’re ready to build a fuller picture of your skincare approach, the natural skincare routine guide from Zenchemylab is a practical next step.
FAQ
What percentage of emulsifier should I use in a natural cream?
Balanced O/W systems typically require 3–6% emulsifier by weight. Start at 4% and adjust based on the oil phase percentage and your desired texture.
Can I make a natural cream without preservatives?
Only if the formula contains no water whatsoever. Any cream with a water phase needs a broad-spectrum preservative. 1% Geogard ECT is a reliable natural-origin option that supports a 12-month shelf life.
Why does my natural cream feel grainy?
Graininess is caused by butter crystallisation during cooling. Use flash cooling by placing your cream in an ice bath immediately after emulsification to prevent large crystal formation in shea or cocoa butter.
How do I know if my cream’s pH is correct?
Test with pH strips or a calibrated meter after your cream is fully cooled. A pH of 4.5–6.5 keeps your preservative active and the formula safe for skin application.
Are essential oils safe to use in face creams?
Yes, at the correct concentration. Essential oils in face creams should be kept at or below 0.5% to minimise sensitisation risk, particularly for formulas applied near the eye area.


1 Comments